Earlier, I published a detailed guide on how to set up Azure Image Builder to create a custom image for Azure Virtual Desktop. If you haven’t read it yet, you can find the full article here: https://www.gettothe.cloud/azure-virtual-desktop-image-builder-part-i/
In this follow‑up post, we will continue from the point where your custom image has been successfully created and added to the Shared Image Gallery. Building the image is only the first ste, now it’s time to explore what comes next. We’ll walk through how to operationalize the image, integrate it into your Azure Virtual Desktop environment, and ensure it becomes part of a scalable, repeatable, and manageable deployment process.
This article will cover the next stages of the lifecycle, including versioning your images, managing updates, automating deployments, and applying best practices to maintain a clean, secure, and consistent AVD environment.
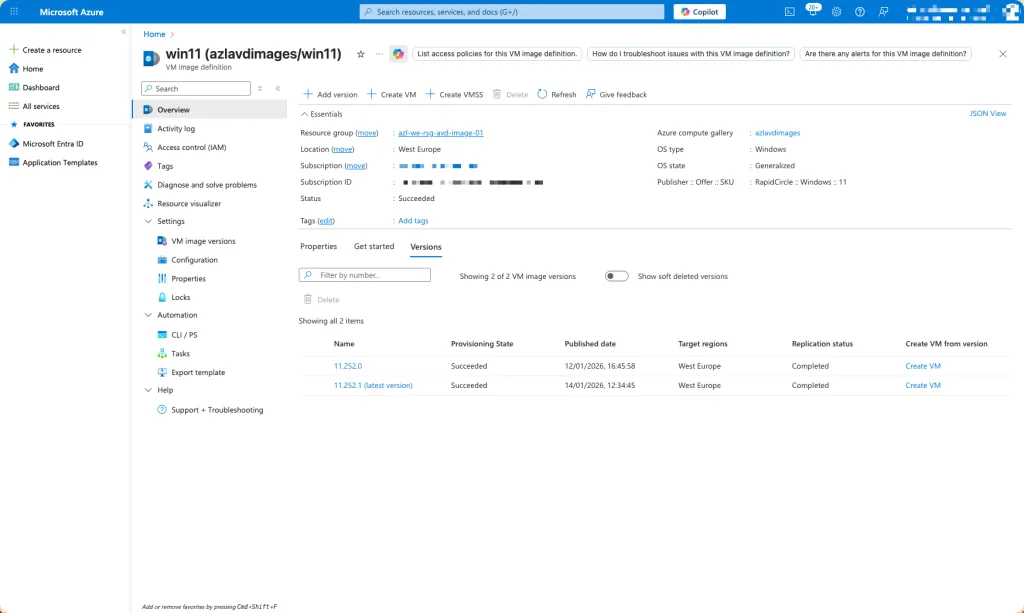
Currently I have two versions of the custom image in my Shared Image Gallery.
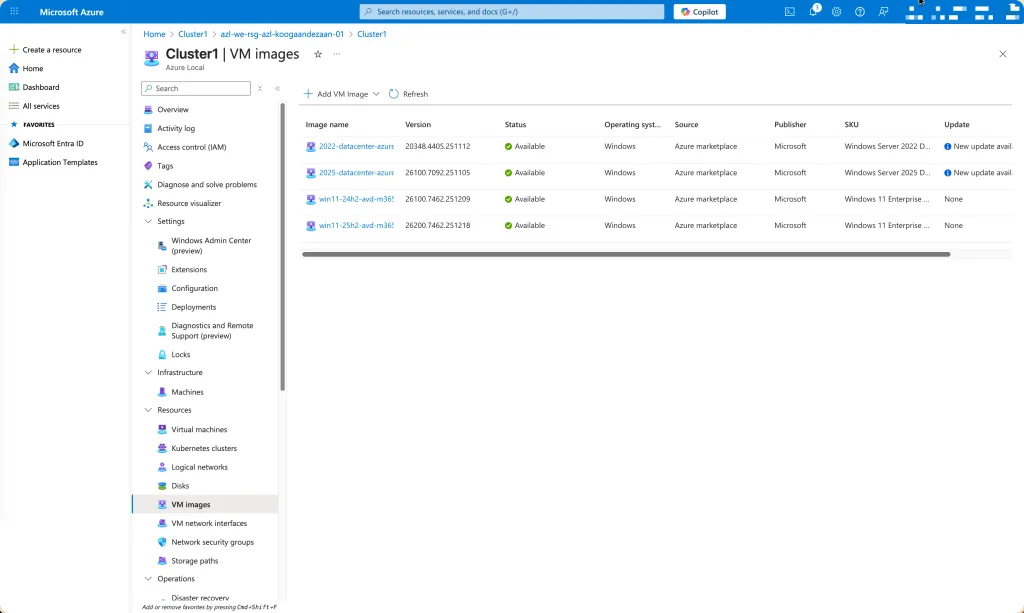
And the current images on my Azure Local cluster
Prepare Azure Local Cluster
# login to azure
az login
# enable installation unattend of addiotional extensions
az config set extension.use_dynamic_install=yes_without_prompt
# variables for storage path
$storagepathname="Images"
$path="C:\\ClusterStorage\\UserStorage_1\\Images"
$subscription="<subscriptionId>"
$resource_group="azl-we-rsg-azl-koogaandezaan-01"
$customLocationName="Koog-aan-de-Zaan"
$customLocationID=(az customlocation show --resource-group $resource_group --name $customLocationName --query id -o tsv)
$location="WestEurope"
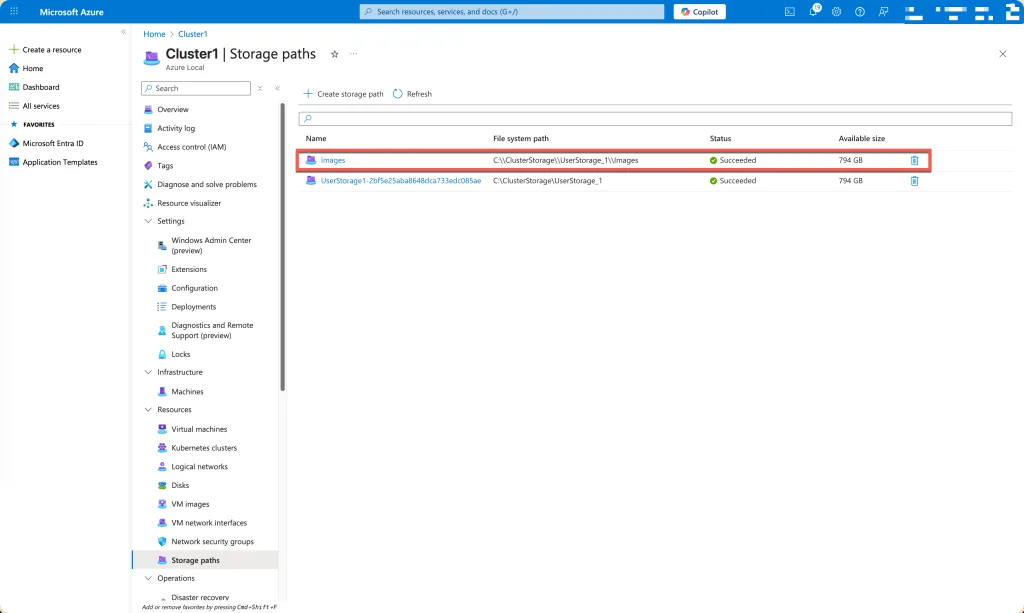
# create storage path location
az stack-hci-vm storagepath create --resource-group $resource_group --custom-location $customLocationID --name $storagepathname --path $pathCreating a storage path in Azure Local involves defining key variables such as the resource group, cluster name, and target directory, then using the az stack-hci-vm CLI extension to register that location. The command validates the inputs, ensures the path is accessible across all cluster nodes, and adds it as a managed storage resource. This enables consistent, cluster‑aware storage usage for virtual machines and workloads in Azure Local environments.
# getting the latest version of the image
$sourceImgVer = Get-AzGalleryImageVersion -GalleryImageDefinitionName $definition -GalleryName $gallery -ResourceGroupName $imgResourceGroup | Where-Object {$_.PublishingProfile.ExcludeFromLatest -eq $false} | Select-object -Last 1Using PowerShell, you can retrieve the newest image version from an Azure Compute Gallery by querying the gallery image definitions and selecting the most recent entry. This typically involves listing available versions, sorting them by their version number or published date, and extracting the latest one.
# creating a managed disk for export
az disk create --resource-group $imgResourceGroup --location WestEurope --name $($sourceImgVer.name.Replace(".","-")) --gallery-image-reference $sourceImgVer.idThe az disk create command provisions a new managed disk in the specified resource group and region, using the name of the source image version and its gallery image reference. By supplying the image version’s ID, Azure automatically creates a disk based on that gallery image. This disk then serves as a ready‑to‑use resource for deploying virtual machines, exporting images, or performing additional image management tasks within Azure.
# gaining access to the managed disk
$imageSourcePath=((az disk grant-access --access-level read --resource-group $imgResourceGroup --name $($sourceImgVer.name.Replace(".","-")) --duration-in-seconds 28800) | ConvertFrom-Json).accessSASThis line requests a read-only, time-limited SAS URL for an Azure managed disk and stores it in $imageSourcePath. It calls az disk grant-access for the disk named by $sourceImgVer.name in $imgResourceGroup, granting Read access for 28,800 seconds (8 hours). The CLI returns JSON; ConvertFrom-Json parses it, and the .accessSAS property, containing the secure download URL, is extracted. That URL can be used to export/copy the image’s VHD safely.
# getting all the variables
$osType = "Windows"
$imageName = $sourceImgVer.name.Replace(".","-")
$StoragePathID=(az stack-hci-vm storagepath show --resource-group $resource_group --name $storagepathname --query id -o tsv)
# starting download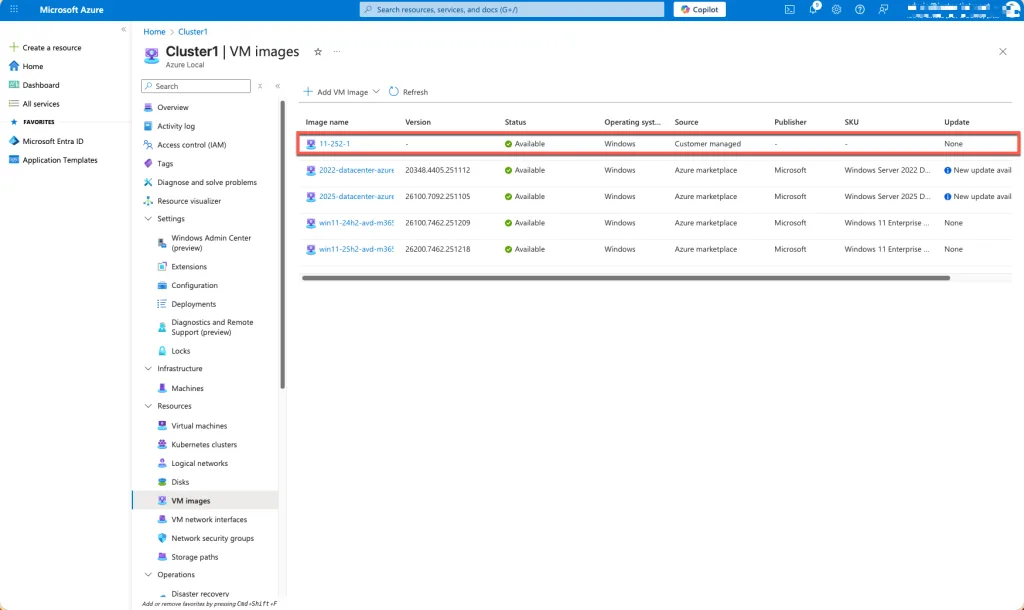
az stack-hci-vm image create --resource-group $resource_Group --custom-location $customLocationID --location $location --name $imageName --os-type $osType --image-path $imageSourcePath --storage-path-id $StoragePathIDThe command imports the VHD (referenced by the SAS URL) and registers a first‑class Azure Local image associated with your custom location and storage path. This makes the image discoverable and reusable for subsequent Azure Local VM deployments, with consistent placement and governance across the cluster.
At this stage, the process is actively downloading the image from the Azure Compute Gallery into your Azure Local environment. The system uses the SAS URL you generated from the source managed disk to securely access the exported VHD. With the Custom Location and Storage Path identified, Azure Local begins importing the image into its storage infrastructure, making it available as a fully managed image resource for future VM provisioning.
Cleanup
Before deleting a managed disk, you must first revoke any active access grants. As long as a read or write SAS URL is still valid, Azure considers the disk in use, preventing its removal. Revoking access ensures that no external process can continue reading from or writing to the disk. Once all temporary permissions are removed, the disk becomes eligible for safe deletion without operational conflicts or dependency blocks.
# revoke access to managed disk
az disk revoke-access --name $($sourceImgVer.name.Replace(".","-")) --resource-group $imgResourceGroupAfter the access grant is revoked, the managed disk is no longer associated with any active SAS URL or external process. This clears all temporary permissions and ensures the disk is fully released. With no remaining dependencies, the image resource can be safely deleted from Azure Local. Removing it at this stage prevents conflicts, avoids failed delete operations, and ensures proper cleanup of unused image versions in your environment.
# delete disk
az disk delete --name $($sourceImgVer.name.Replace(".","-")) --resource-group $imgResourceGroup --yesAutomation
The entire process, collecting variables, resolving Azure Local resource IDs, generating a secure SAS URL for the source image, and triggering the az stack-hci-vm image create operation, can be fully automated and executed in Azure DevOps pipelines.
Executing the Workflow in Azure DevOps
In an Azure DevOps pipeline, the script can run within a build or release stage using a self‑hosted agent or a Microsoft‑hosted agent configured with the Azure CLI and required PowerShell modules. By adding predefined variables to the pipeline, such as resource group names, custom location names, image version identifiers, and storage path names, the process executes consistently each time. Service connections in DevOps provide secure non-interactive authentication, allowing the pipeline to access Azure resources, retrieve SAS URLs, and initiate the image import into Azure Local. This enables scheduled execution, manual approval workflows, or automated runs triggered by repository changes or image gallery updates.
You can read about it here: https://www.gettothe.cloud/azure-local-devops-custom-image-part-i/
The full script you can find at Github: https://github.com/GetToThe-Cloud/Website/tree/main/PowerShell-AzureLocal-CustomImage. You will find in the folder multiple variations.
Get-CustomImageFromGallery.ps1 is a script which uses the az cli.
Get-PSCustomImageFromGallery.ps1 is a script which is using the modules from the PowerShell gallery
Remove-CustomImages.ps1 is a script which will do clean up of images