The Disaster Recovery capability for Azure Local is currently in preview, but it already offers enough functionality for meaningful evaluation and testing. Exploring this feature early provides valuable insight into how resilient your hybrid environment can become.
Implementing a disaster recovery strategy is essential for any organization running critical services. It ensures that your environment is protected and recoverable when unexpected disruptions occur. Effective disaster recovery planning is a strategic pillar of IT operations, particularly in hybrid infrastructures that integrate Azure Local. Its importance grows as organizations rely on consistent uptime, data integrity, and seamless service continuity. A well‑designed recovery plan safeguards business operations, protects sensitive information, and reinforces trust with users and stakeholders.
Our current HomeLab setup includes several virtual machines, making it an ideal environment to test how Azure Local’s Disaster Recovery behaves in practice. This will allow us to validate failover processes, understand recovery workflows, and assess the overall reliability of the solution.
Configuration
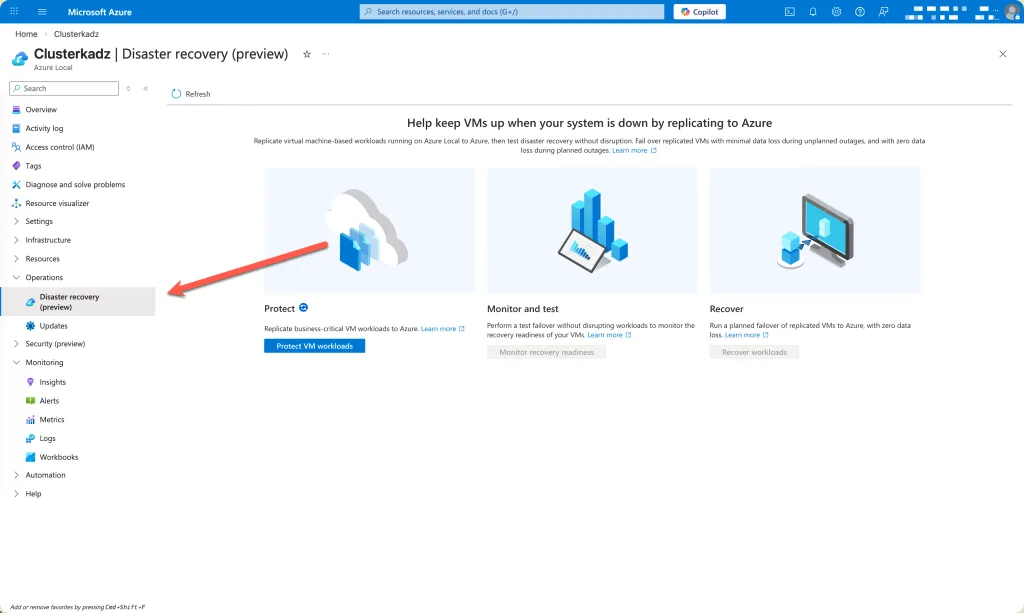
When navigating to your Azure Local cluster, you can access the Disaster Recovery feature under the Operations section. This is where the configuration, monitoring, and management options for recovery scenarios are located, making it the central place to explore and validate the preview capabilities.
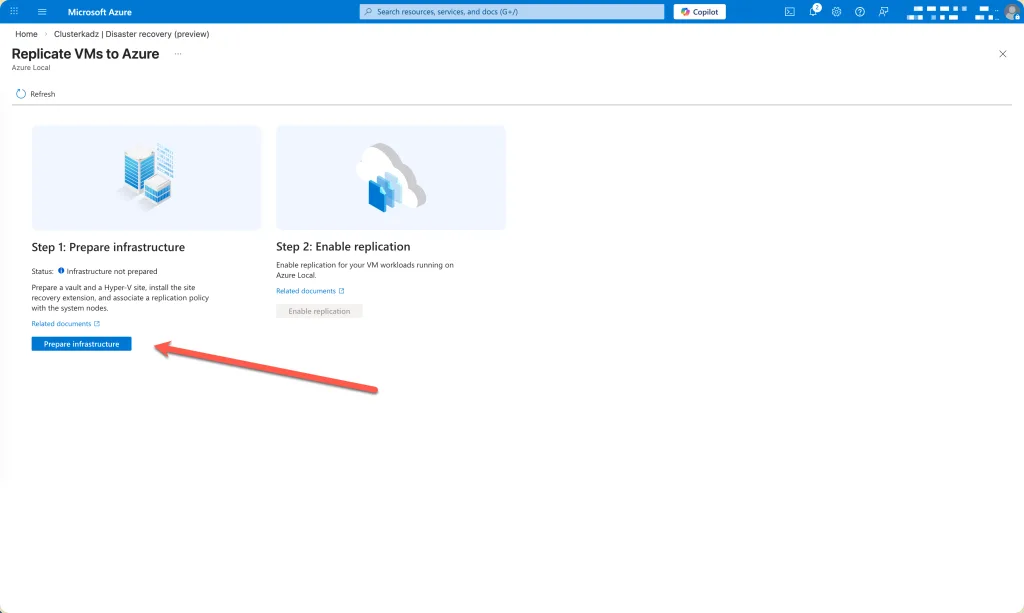
Before you can begin configuring any recovery scenarios, the underlying infrastructure must be prepared. To start this process, select Prepare infrastructure. This step ensures that all required components, dependencies, and connectivity checks are validated before disaster recovery can be enabled.
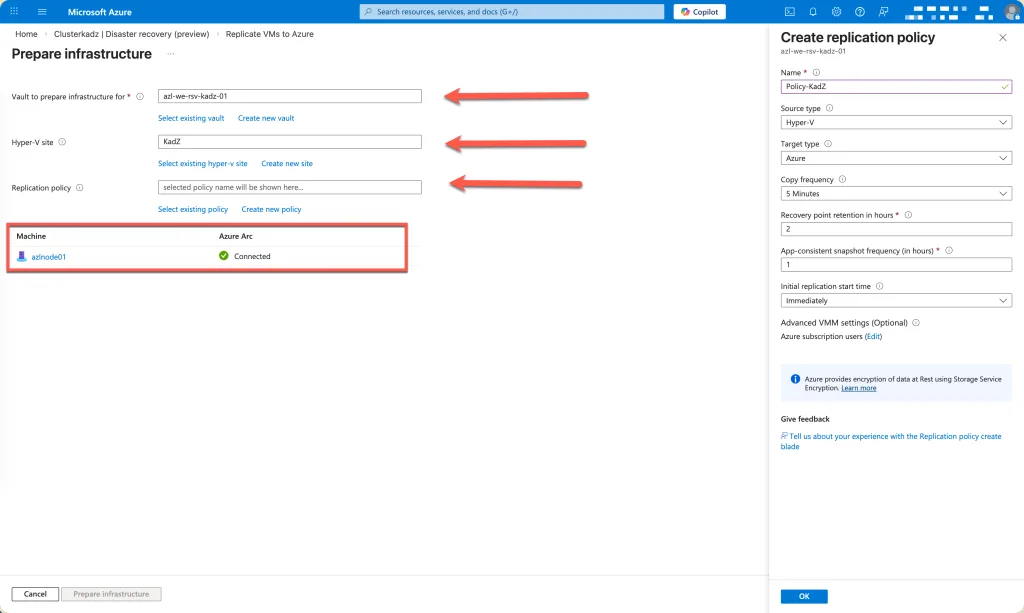
Next, select an existing Recovery Services vault if you already have one available. If not, create a new vault to store and manage your disaster recovery configurations. After that, create a Hyper‑V Site, which represents the on‑premises environment participating in the recovery process. Once the site is defined, choose an appropriate replication policy to govern retention, frequency, and failover behavior.
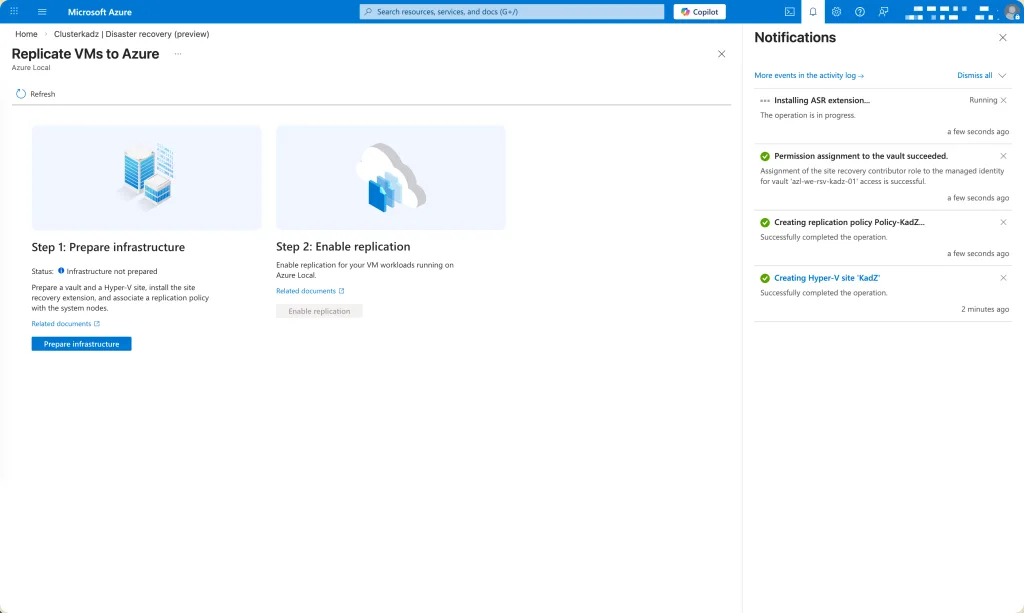
After initiating the setup, allow the preparation process to complete. This step may take several minutes as Azure validates configurations, provisions required components, and ensures that the environment is ready for disaster recovery operations.
Enable Replication
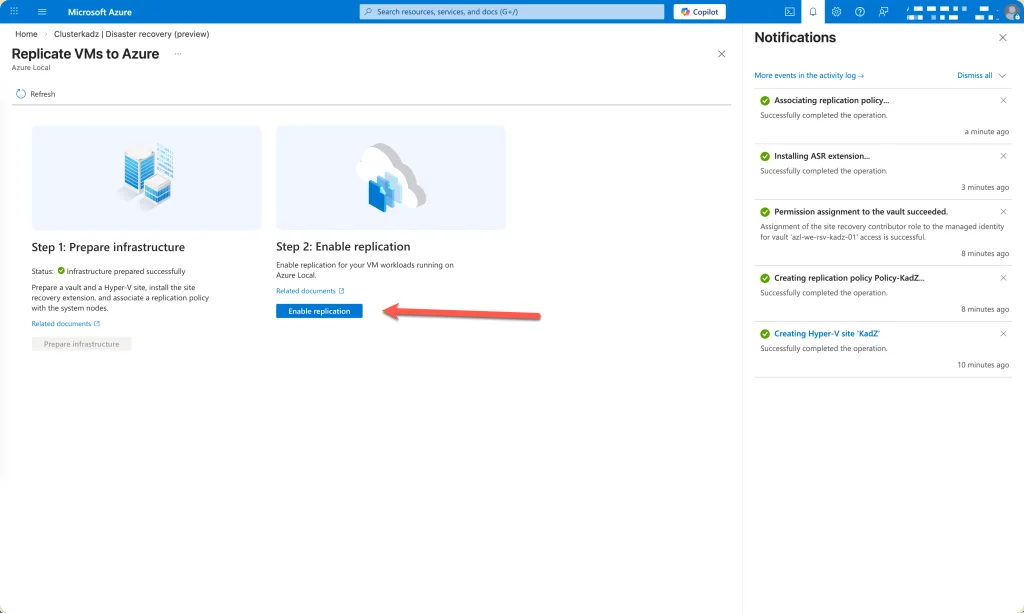
Once the preparation phase has successfully completed, you can proceed to enable replication. This step activates the continuous synchronization of your virtual machines to the Recovery Services vault, ensuring that up‑to‑date copies are available for failover if a disruption occurs.
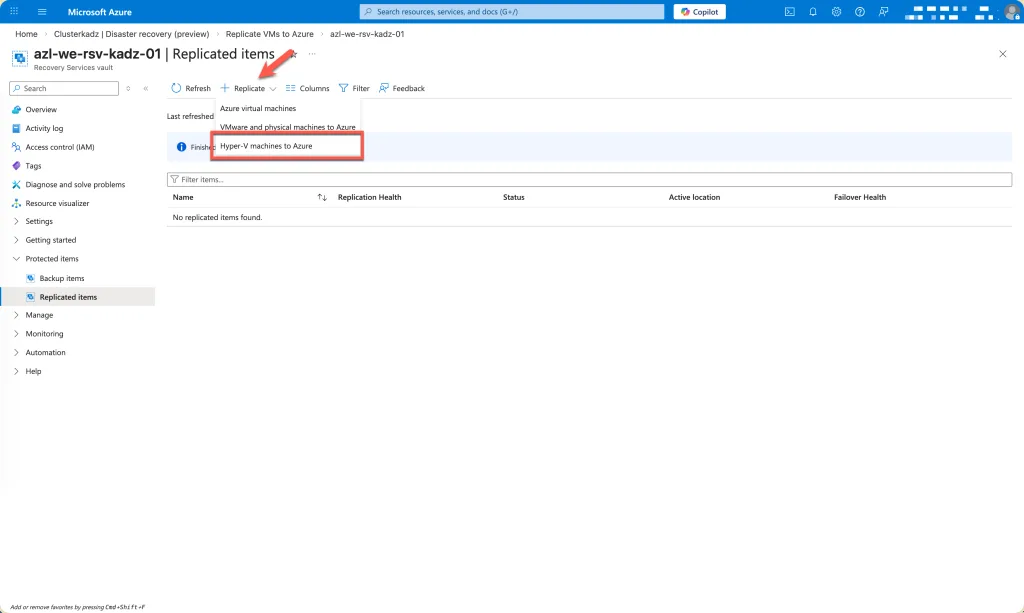
Select the Hyper‑V machines you want to replicate to Azure. This step defines which virtual machines will be continuously synchronized and protected as part of your disaster recovery configuration.
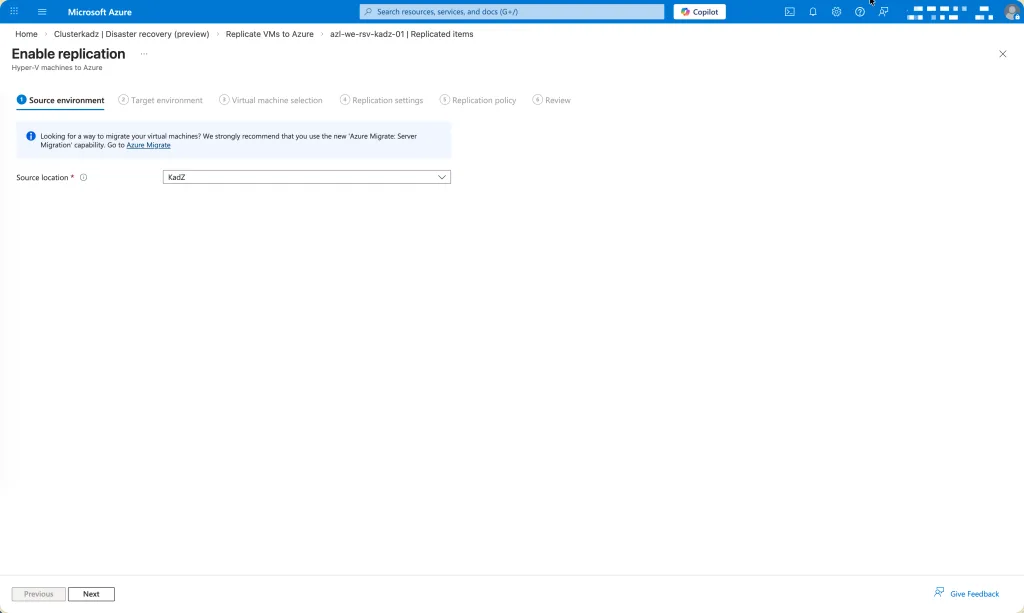
Select the site (source) to replicate from.
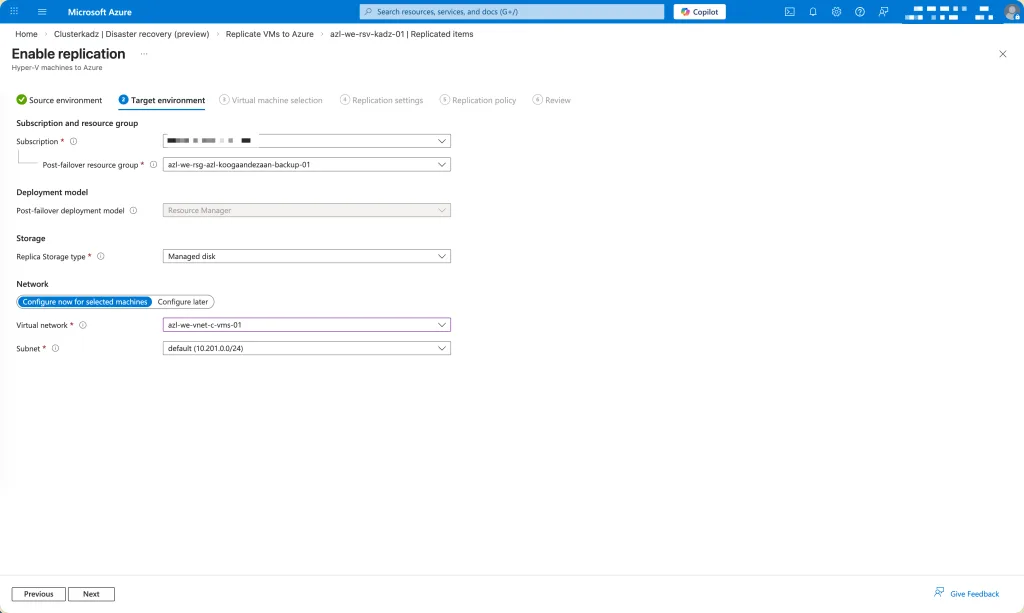
Choose the target resource group where the replicated virtual machines will be created in Azure. Then select the virtual network (VNet) the machines should be connected to after failover. This ensures that networking, routing, and access controls are correctly aligned with your intended recovery environment.
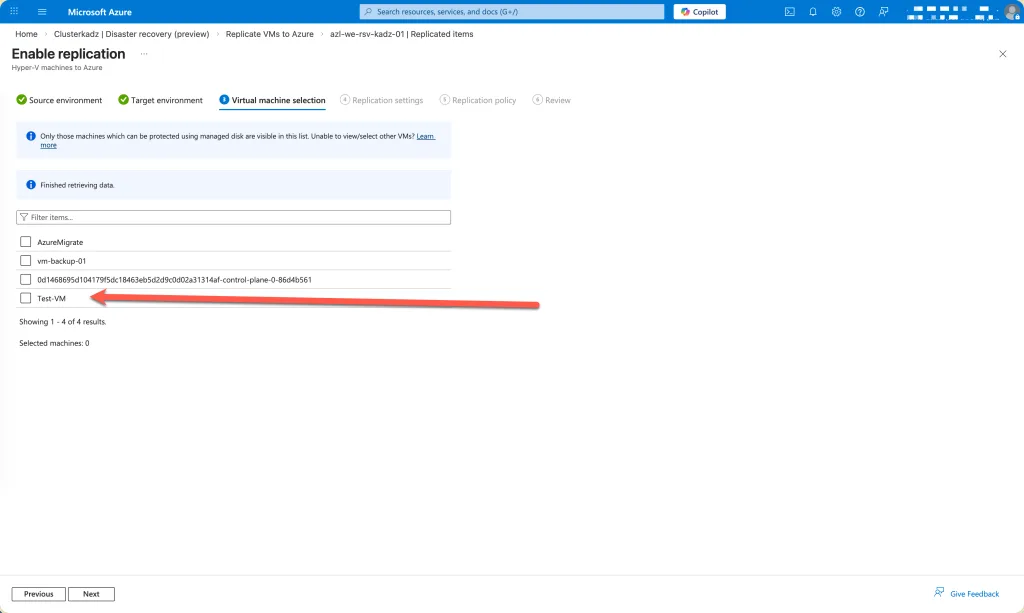
Select the virtual machine you want to replicate. In this example, only a single VM is chosen for replication, but you can include additional machines as needed depending on your recovery strategy.
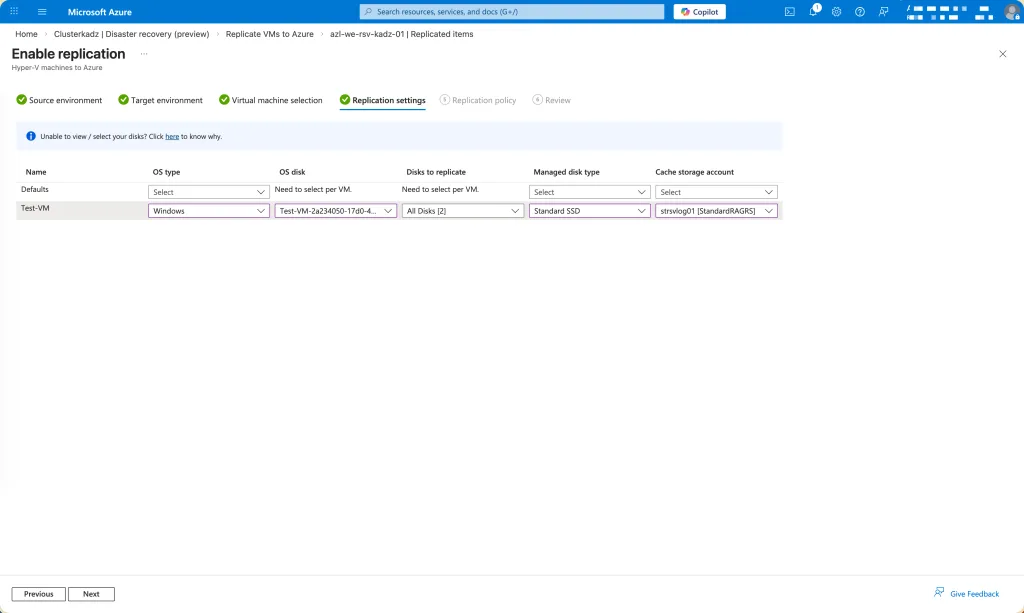
Define the operating system type, select the appropriate disk, and specify which cache storage account should be used. The cache storage account must have Blob storage enabled and Soft Delete for Blob disabled. Additionally, ensure that the selected storage account is configured with either Locally Redundant Storage (LRS) or Geo‑Redundant Storage (GRS), as these redundancy options are required for replication.
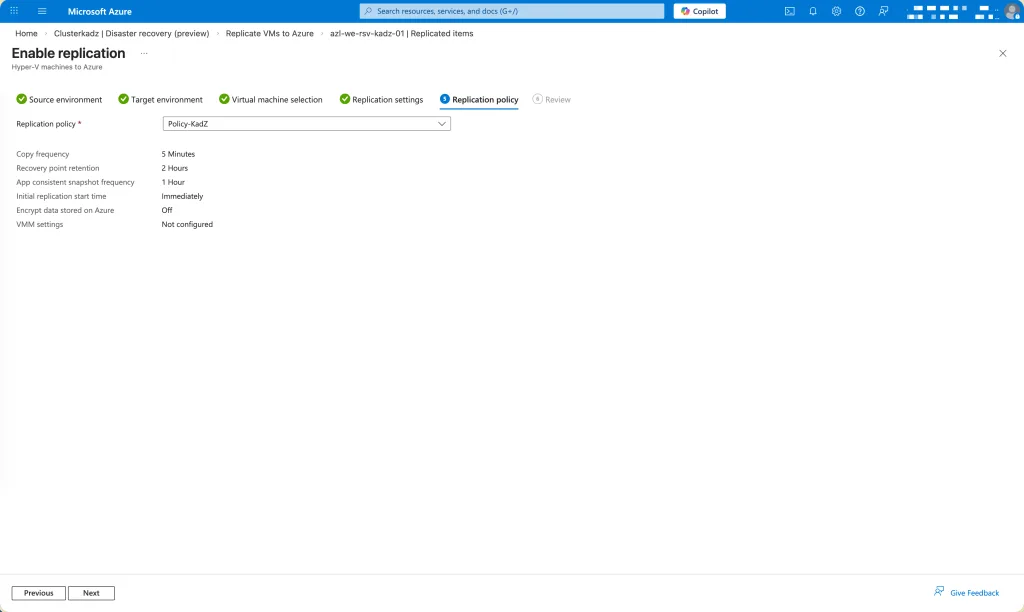
Select the policy to use
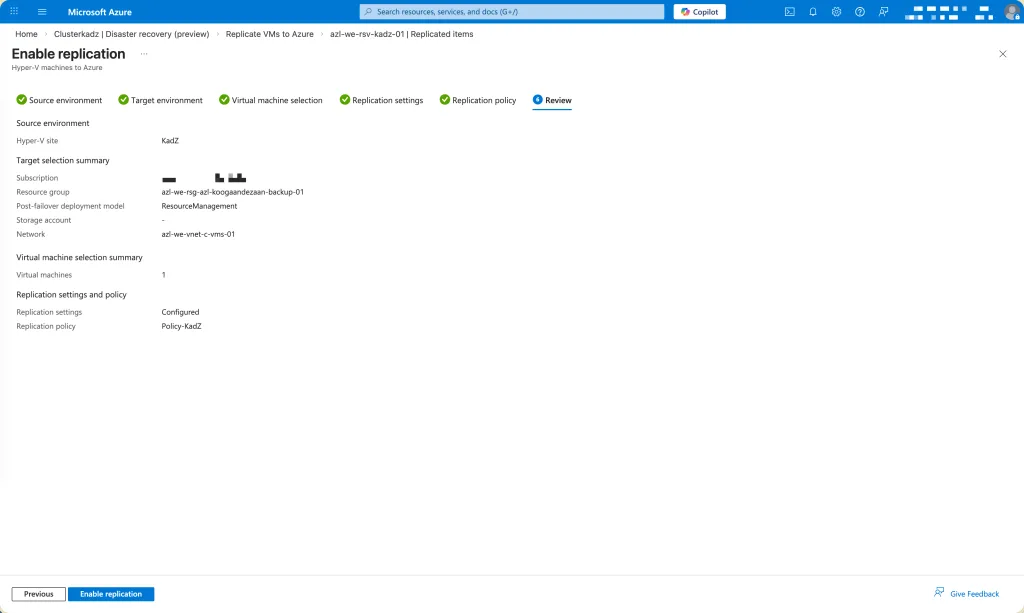
Review the configuration details and confirm that all settings are correct. Once everything has been validated, select Enable to start the replication process.
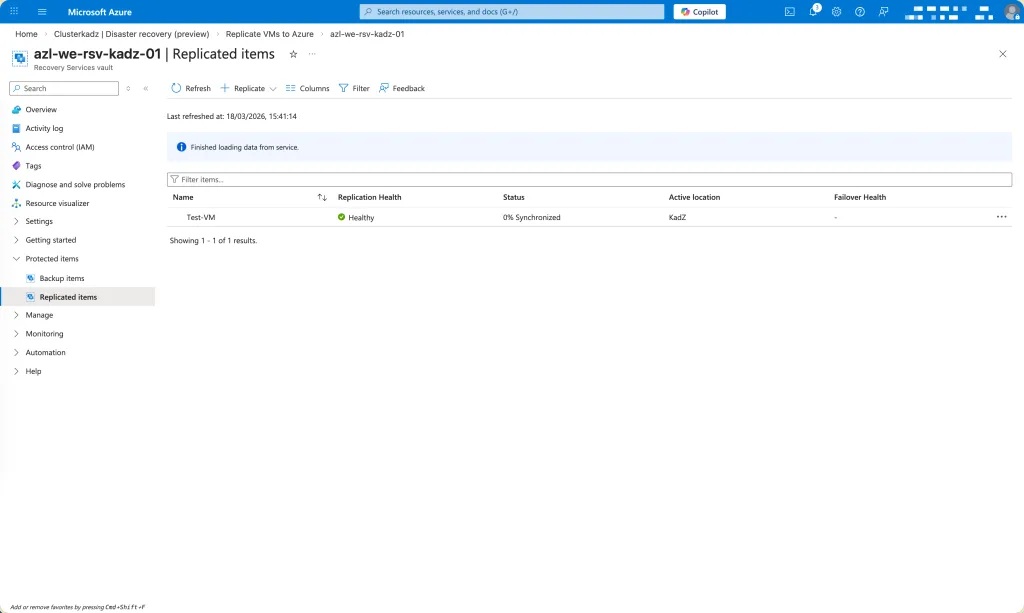
Wait for the replication process to complete. This stage may take some time, as Azure transfers the initial data set and establishes continuous synchronization between your on‑premises environment and the Recovery Services vault.