Azure Local | HomeLab – Azure Backup
With our Azure Local HomeLab now operational, it’s important to consider the next step: implementing a reliable backup strategy. In a typical homelab environment, having a full backup solution isn’t always a priority. However, when the environment begins to host production‑grade workloads, and when you prefer not to rely on third‑party tools, the question becomes: what are your options for ensuring data protection and business continuity?
In this scenario, we leverage Azure Backup in combination with an Azure Recovery Services Vault, Microsoft’s native, fully integrated backup solution. This approach allows us to maintain a consistent and secure backup process without relying on third‑party tooling. The integration with Azure Local and Azure Arc ensures seamless management, centralized monitoring, and adherence to enterprise‑grade best practices, all while keeping the solution entirely within the Microsoft ecosystem.
I have deployed to my Azure Local cluster a Virtual Machine called: AZL-VM-BCK01
Create a Recovery Service Vault
An Azure Recovery Services Vault is a cloud-based storage and management entity in Microsoft Azure designed to securely store and organize backup and disaster‑recovery data. In practice, it acts as a central hub where you configure, manage, monitor, and store backups for both Azure resources and on‑premises machines. Browsing to in the portal to Recovery Service Vaults
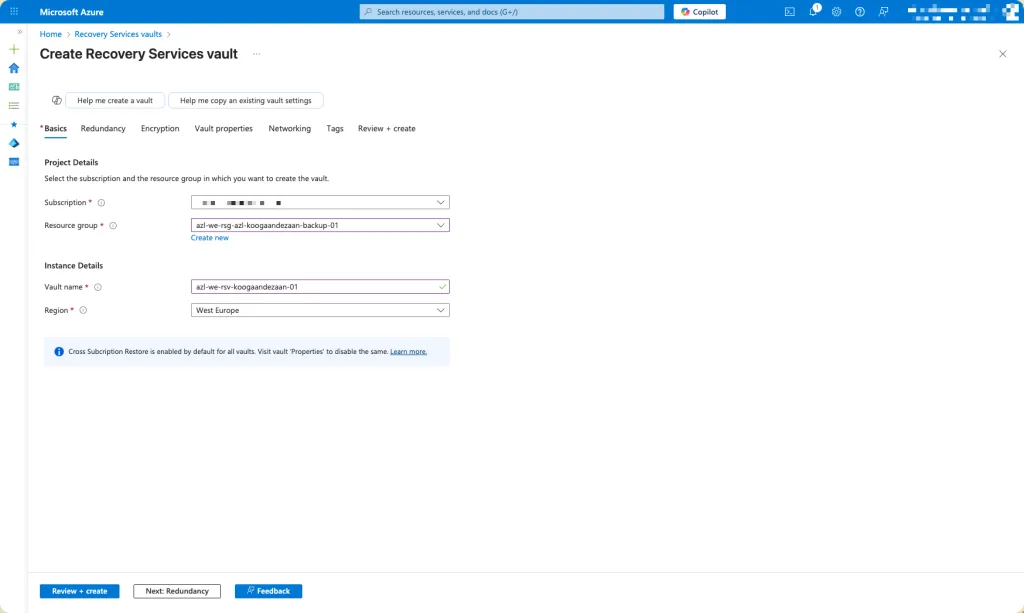
Initiate the creation of a new Recovery Services Vault within the Azure portal, ensuring that the vault is assigned a unique and properly structured name that adheres to Azure’s naming requirements and aligns with your organizational naming conventions.
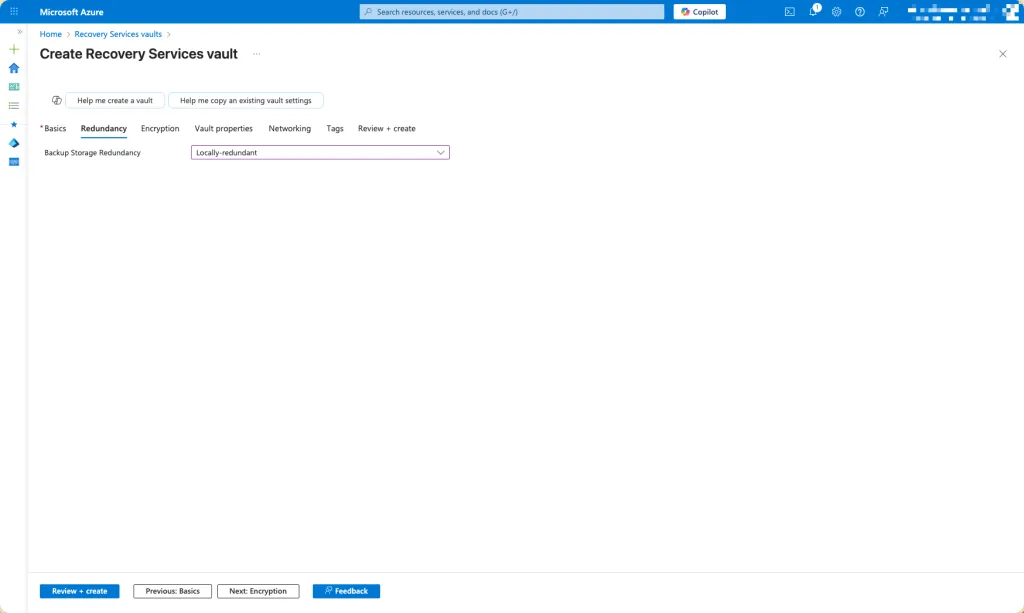
Select the appropriate Backup Storage Redundancy option for the Recovery Services Vault. Azure provides multiple redundancy models to support varying levels of durability, availability, and cost efficiency. You may choose from the available redundancy tiers based on your organization’s data‑protection requirements, compliance obligations, and recovery objectives. For this demo I just select locally-redundant
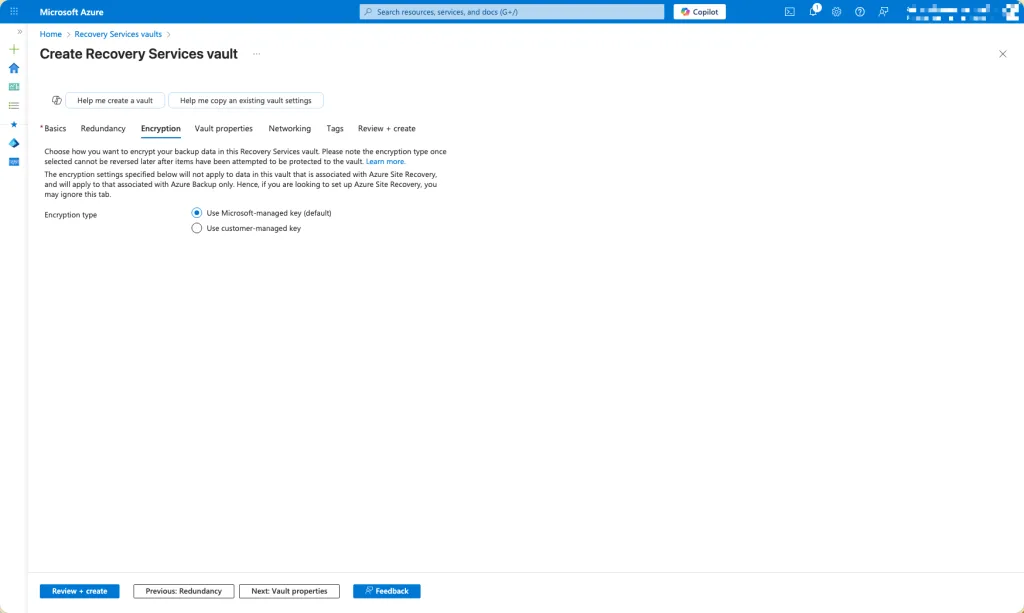
Choose the type of encryption you want
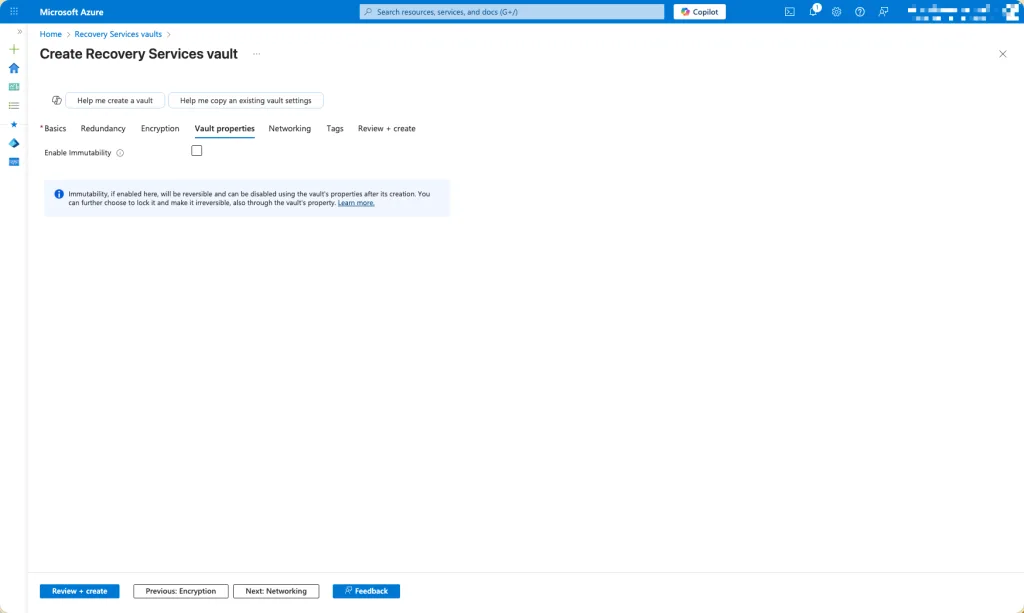
Determine whether you want to enable immutability for the Recovery Services Vault. Enabling immutability ensures that backup data cannot be modified or deleted, either accidentally or maliciously, during the defined retention period. This feature strengthens your overall data‑protection posture, supports compliance with regulatory mandates, and provides an additional safeguard against threats such as ransomware. For this demo I did not select it.
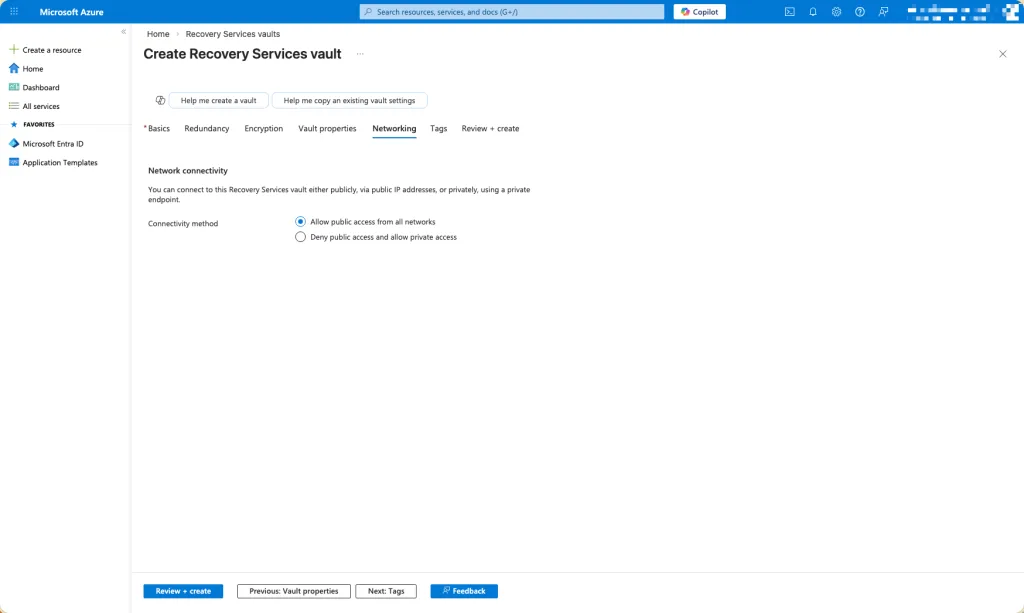
Specify whether access to the Recovery Services Vault should be restricted exclusively to private endpoints or whether it may also be accessed publicly. This decision determines how the vault can be reached within your network architecture. Opting for private access ensures that all communication occurs over secure, internal network paths, enhancing isolation and reducing exposure to external threats. Allowing public access, on the other hand, permits connectivity over the public internet, which may be suitable for certain scenarios but typically requires additional safeguards.
Configuration of the Recovery Service Vault

Browse to the Getting Started for Backup and select Azure Stack HCI (it is still not renamed) and what you would like to backup. I only backup Virtual Machines in this case. Click on prepare infrastructure.
Install Microsoft Azure Backup Server
The infrastructure requires the installation of Microsoft Azure Backup Server (MABS). This component is essential for enabling on‑premises backup capabilities and integrating your environment with Azure Backup. The installation media and associated prerequisites can be downloaded directly from the Microsoft website, ensuring that you obtain the latest, fully supported version of the software.
https://www.microsoft.com/en-us/download/details.aspx?id=105164
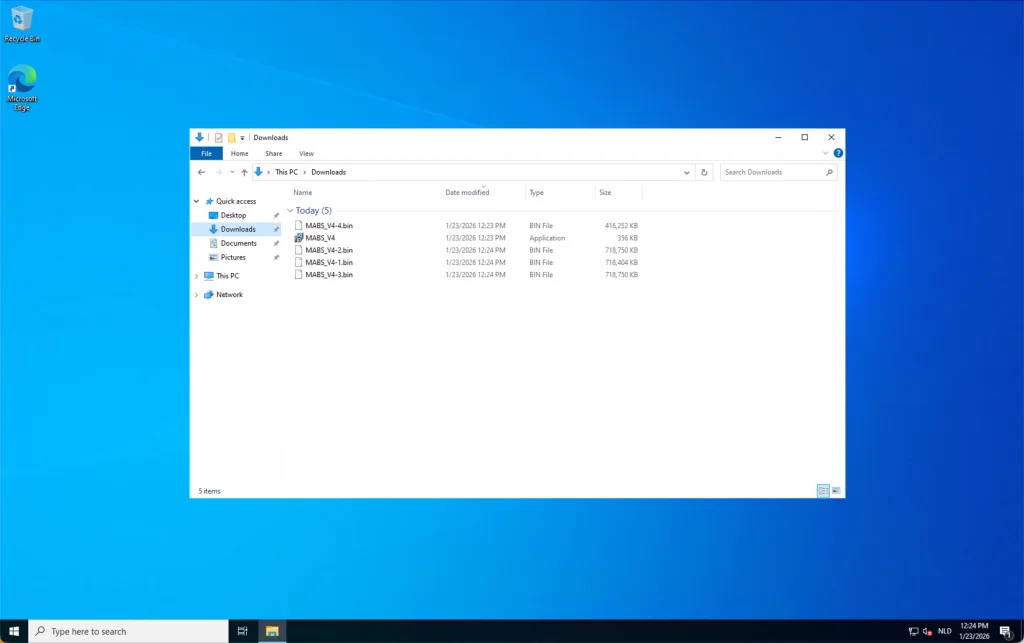
When downloaded, run the executable to extract the packages.
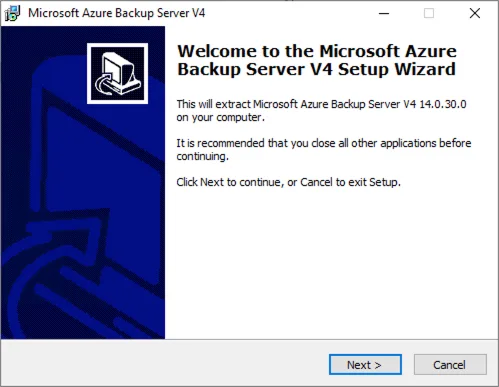
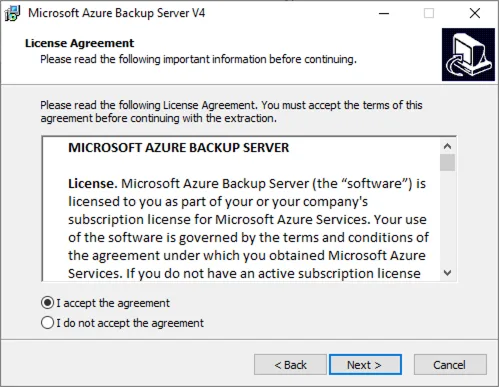
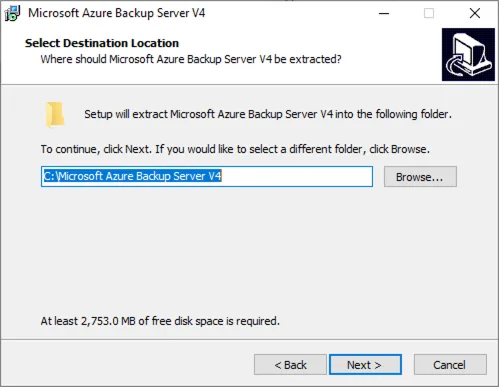
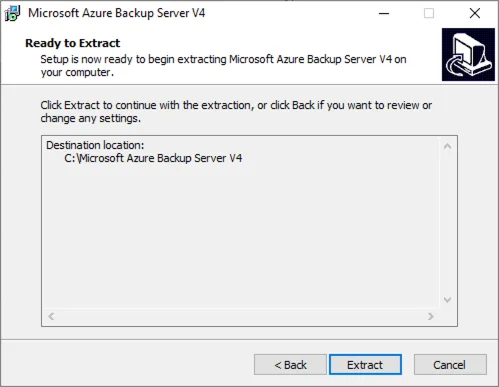
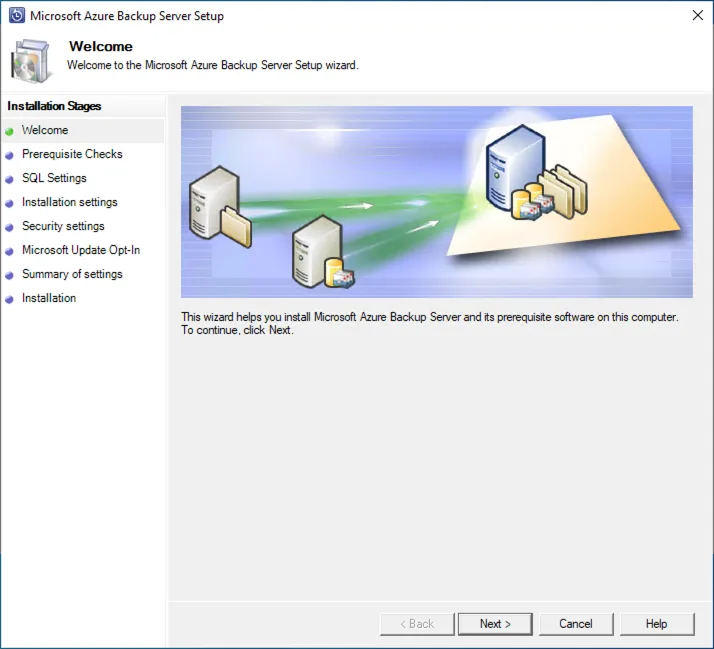
Once the installation package has been extracted, navigate to the extracted directory and launch the setup executable. From the installation menu, select Microsoft Azure Backup Server as the component to install. Proceed by reviewing and accepting the Microsoft license agreement to continue with the deployment workflow.
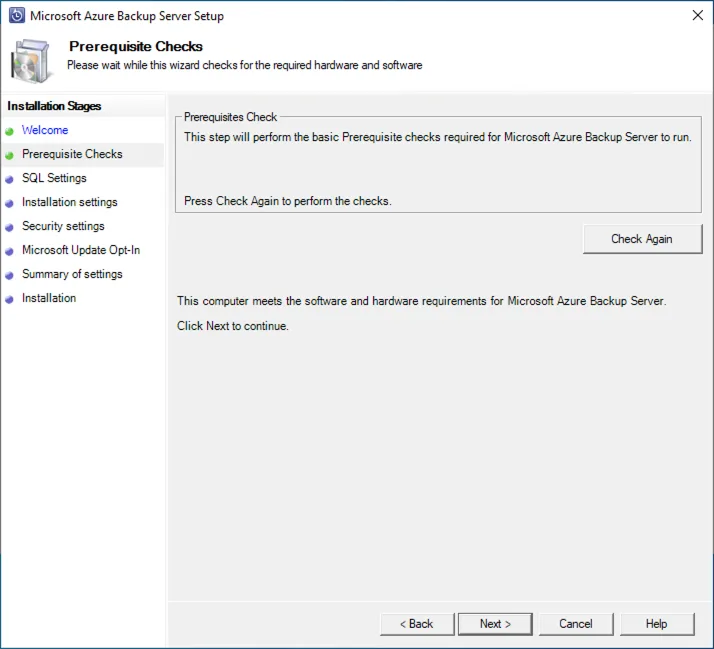
During installation, the setup process will run a comprehensive prerequisites check to validate whether the system meets all requirements for deploying Microsoft Azure Backup Server. This check evaluates hardware specifications, operating system compatibility, necessary Windows features, and the presence of supporting software components. Any missing or non‑compliant configuration elements will be flagged, allowing you to address them before proceeding with the installation. Ensuring that all prerequisites are satisfied helps guarantee a stable and fully supported backup server environment.
If the Hyper‑V PowerShell module is not already installed on the server, the installer will automatically initiate its installation as part of the prerequisite validation process. Once the module has been successfully added, you will be prompted to restart the server to ensure that all components are properly registered and fully operational before continuing with the Microsoft Azure Backup Server setup.
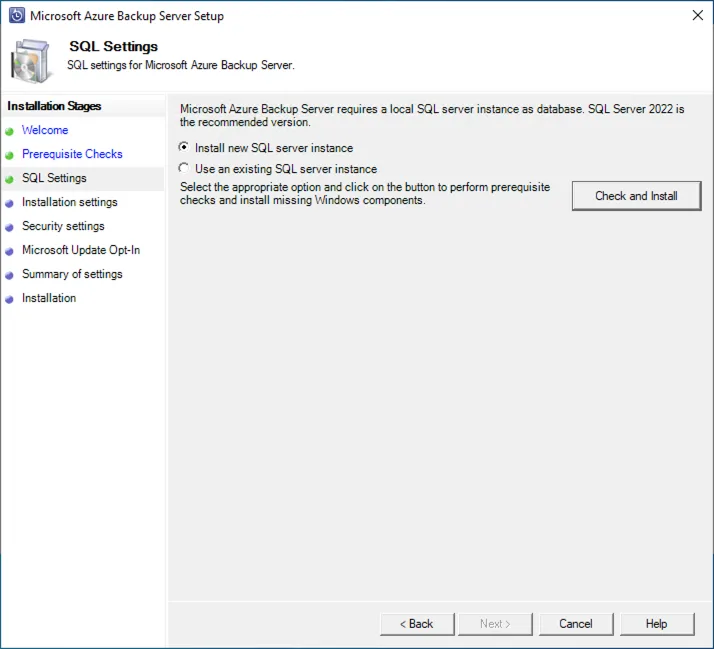
If you do not already have an existing Microsoft SQL Server instance available for use, select the option to deploy a new instance during the setup process. Microsoft Azure Backup Server requires a dedicated SQL Server environment for storing its configuration and operational data, and provisioning a new instance ensures a clean, fully compatible, and properly isolated backend for the backup infrastructure.
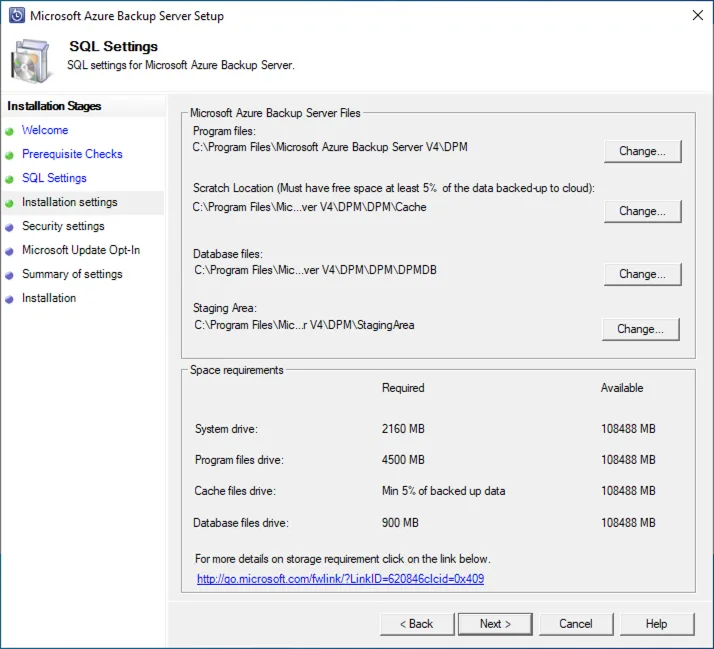
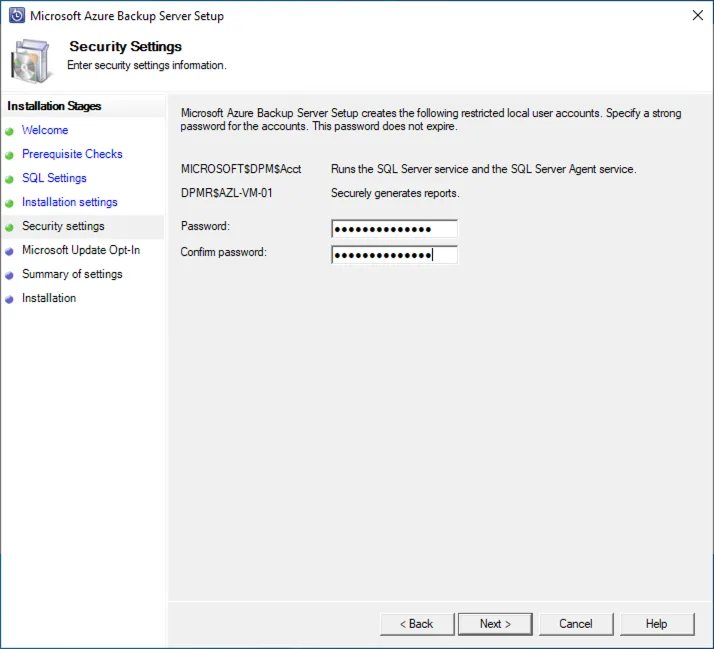
Proceed by selecting the configuration options that best align with your deployment requirements. During this stage, you will also be prompted to create and assign a secure password for the restricted local user account that Microsoft Azure Backup Server utilizes for internal operations. This credential is essential for maintaining proper isolation, enforcing least‑privilege access, and ensuring the overall security posture of the backup environment.
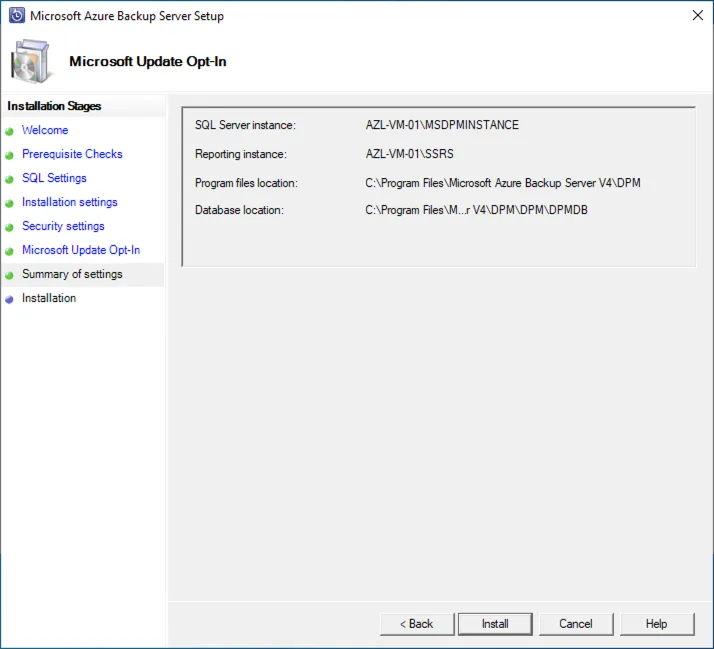
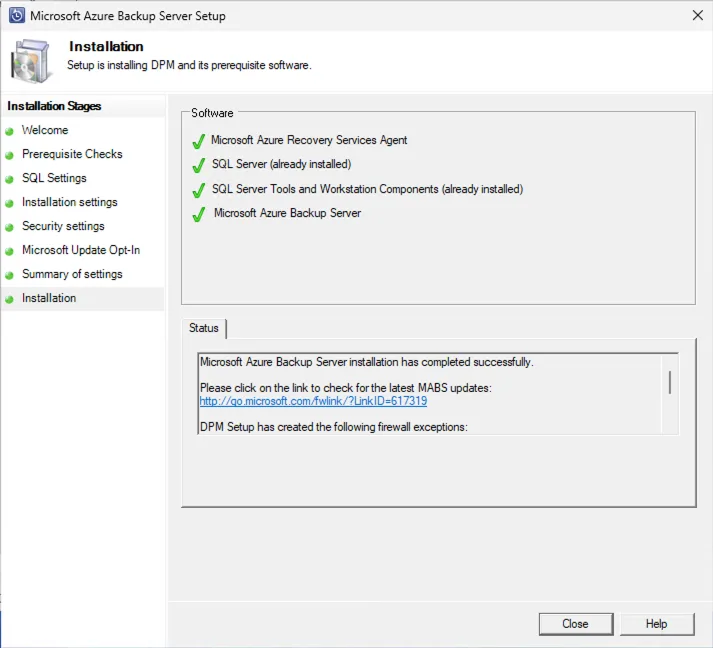
Run Install when you completed the wizard.
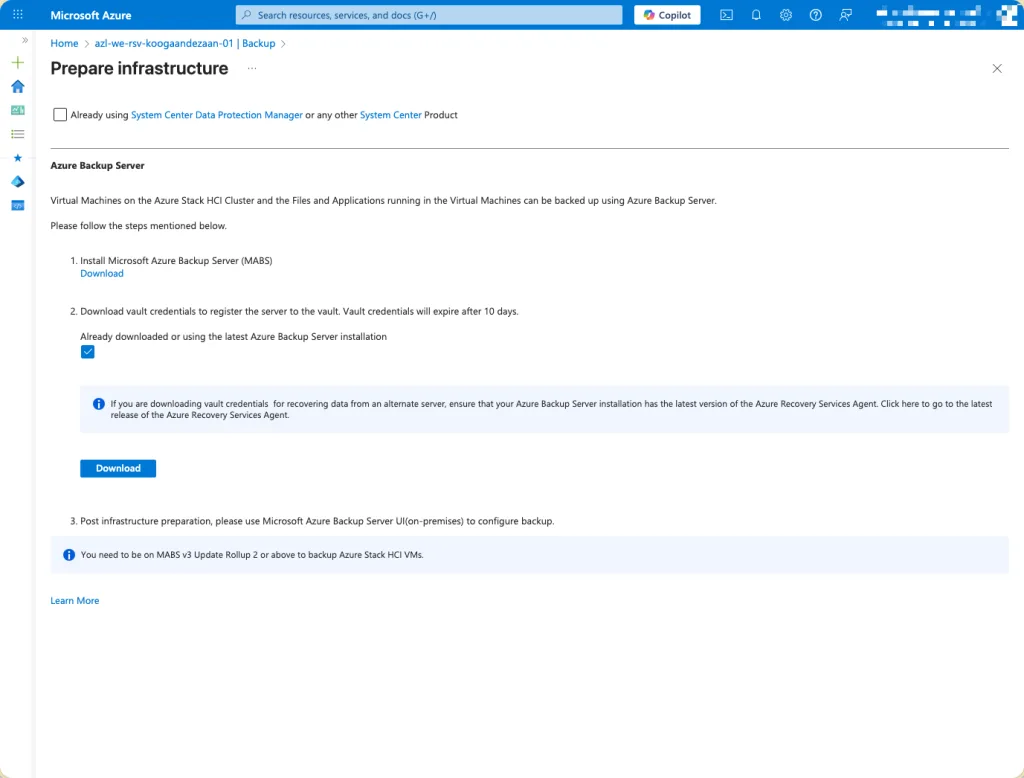
Download the Vault Credentials from the Azure portal. These credentials are essential for completing the registration of Microsoft Azure Backup Server (MABS) with the Recovery Services Vault. During the configuration process, MABS uses this credential file to establish a secure, authenticated connection to the vault, ensuring that all backup operations are properly associated with the correct Azure tenancy and protected under the defined backup policies. Be sure to store the downloaded credentials securely, as they contain sensitive information required for initial vault registration.
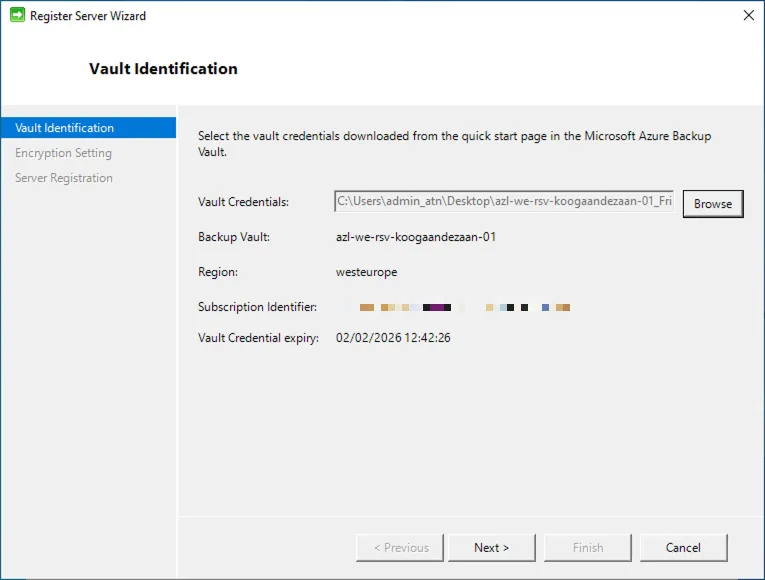
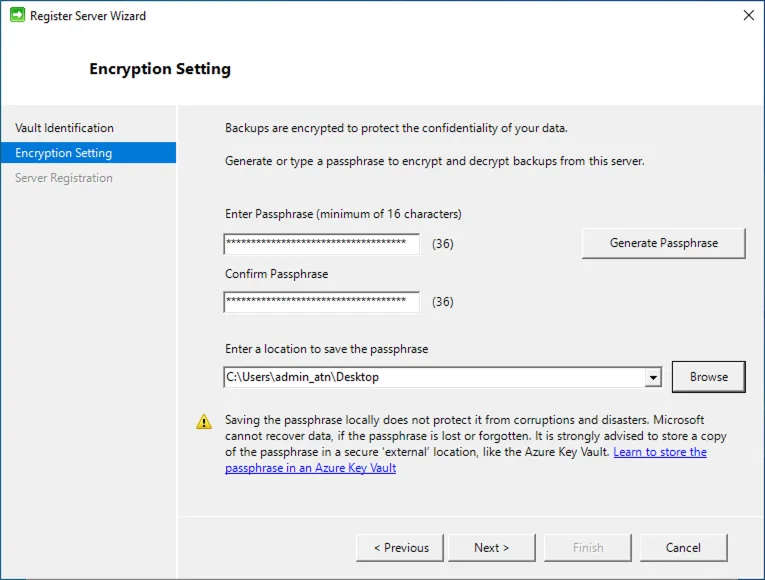
After loading the Vault Credentials into the configuration wizard, the system will validate the file to confirm that the credentials are authentic and correspond to the correct Recovery Services Vault. Once the credentials have been successfully verified, the setup process proceeds to the next step, where you are required to create a secure passphrase. This passphrase plays a critical role in the encryption and decryption of your backup data, ensuring that all protected workloads remain confidential and recoverable only by authorized personnel. It is essential to store this passphrase securely, as it is mandatory for restoring data in the future and cannot be recovered if lost.
Install agent on every node
With the Microsoft Azure Backup Server (MABS) successfully deployed, the next phase involves preparing the storage and agent infrastructure. Begin by attaching a dedicated data disk to the MABS server. This disk will serve as the primary storage repository for locally cached backup data, and allocating a separate, performance‑optimized disk helps ensure efficiency, scalability, and reliability during backup and restore operations.
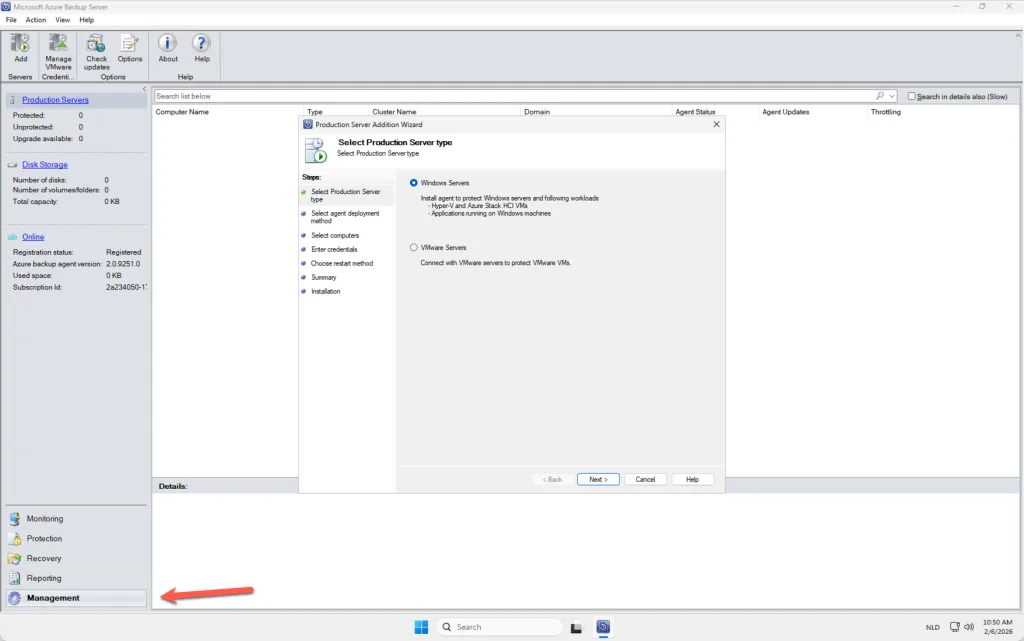
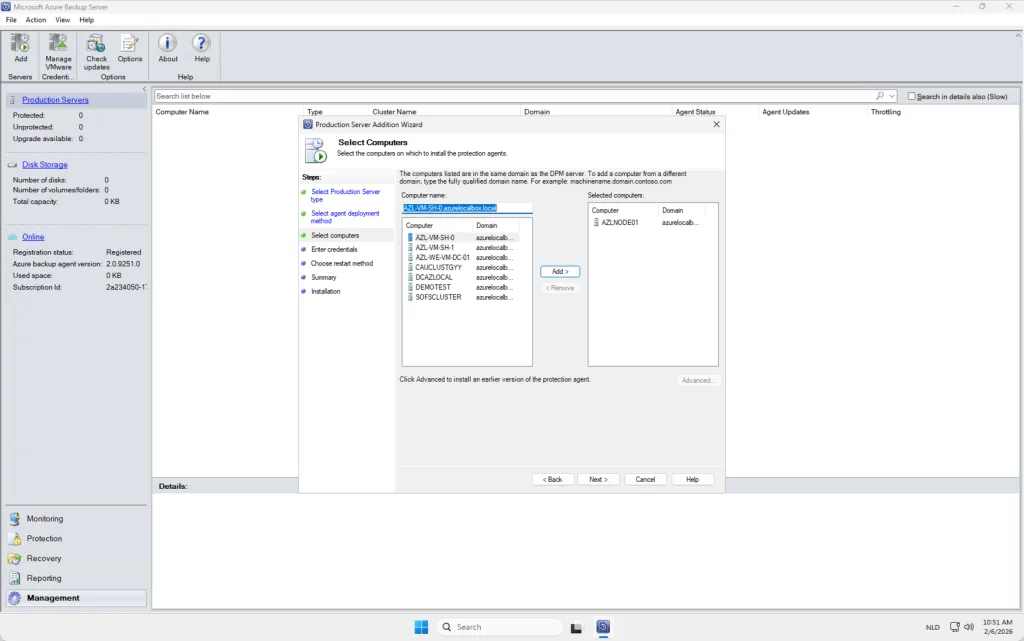
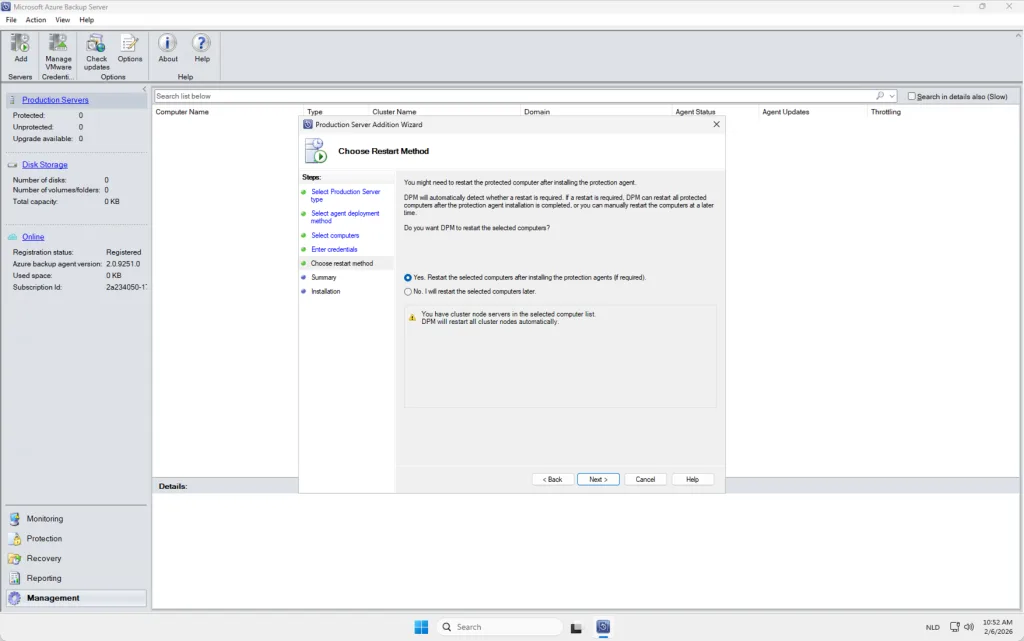
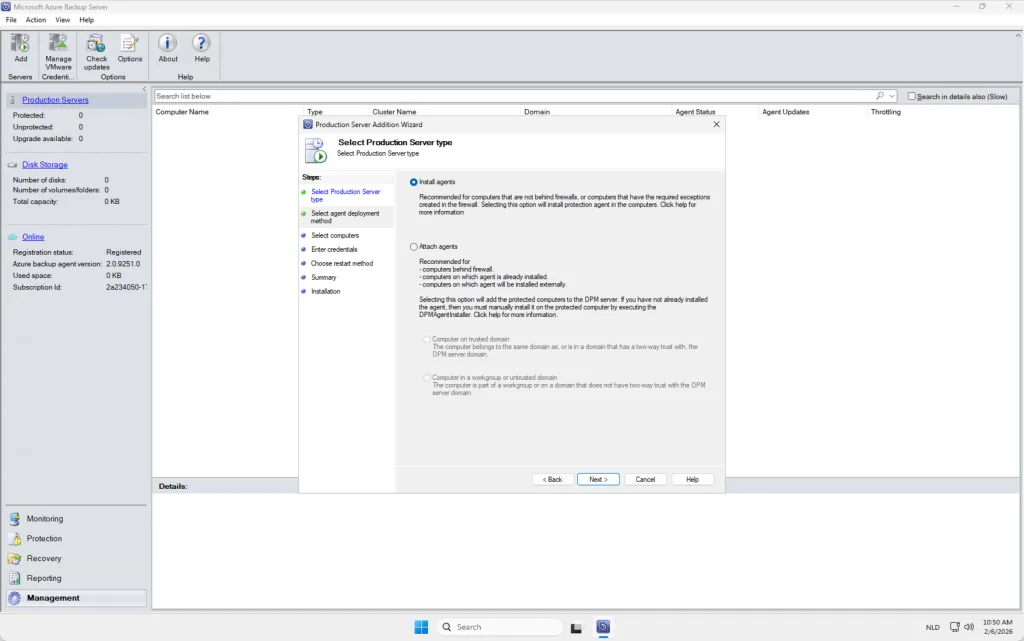
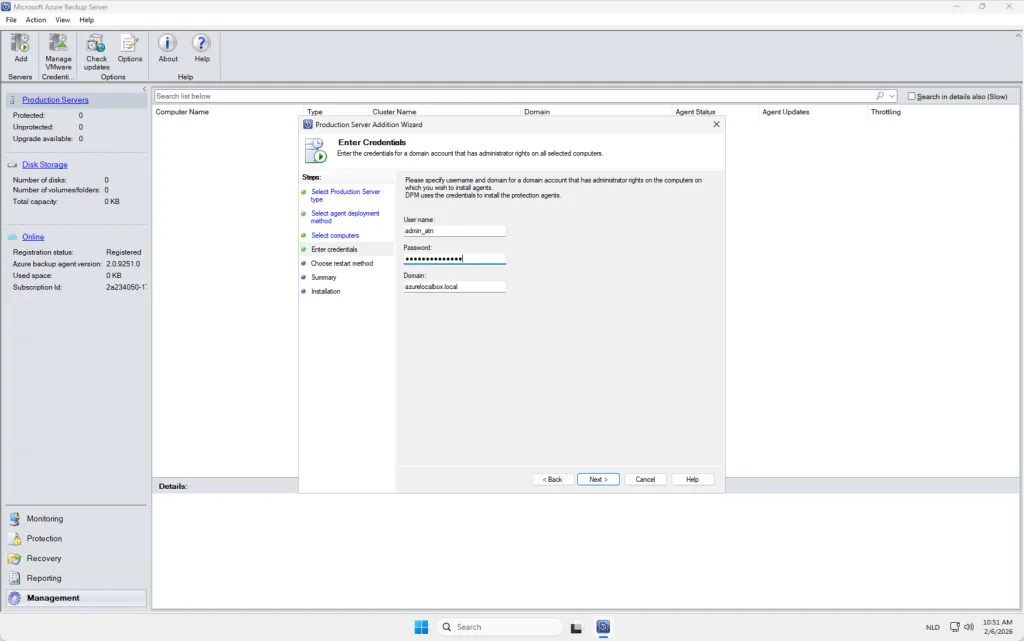
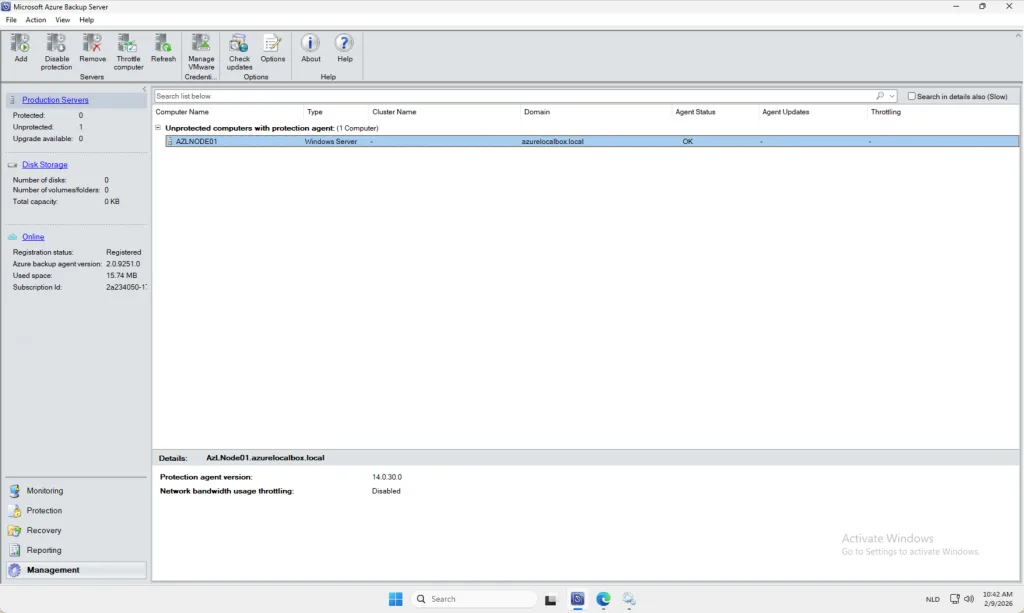
Once the storage layer is in place, you can proceed to install the backup agents on the Azure Local nodes. These agents can be deployed remotely from within the MABS console, allowing you to seamlessly onboard each node into the backup environment. After installation, the agents establish secure communication with the MABS server, enabling workload discovery, policy assignment, and the scheduling of ongoing backup jobs across your Azure Local infrastructure. Keep in mind that every NODE needs an agent.
Protection policy
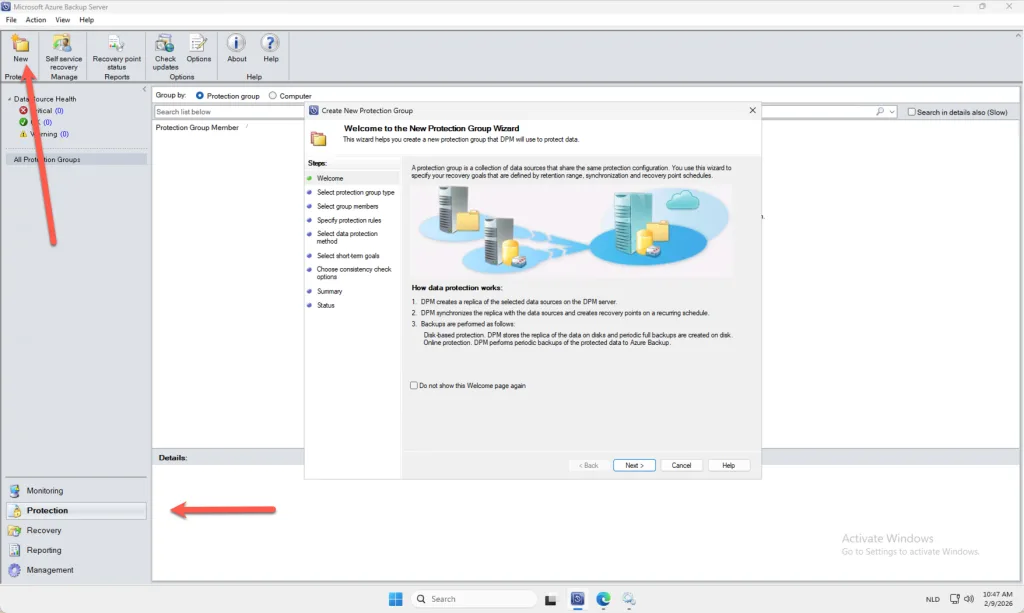
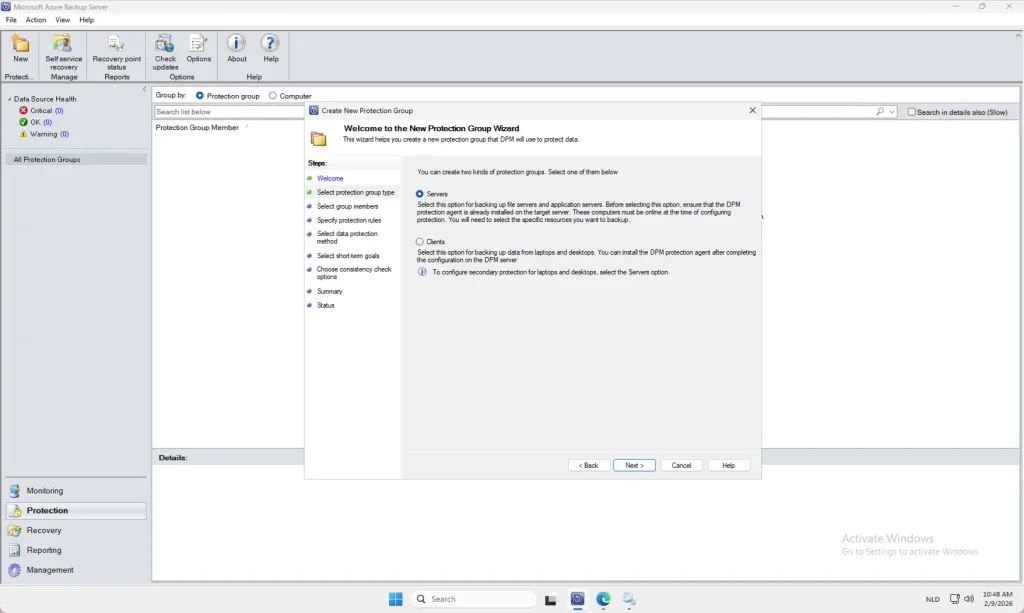
Once all agents have been successfully installed and are actively communicating with the Microsoft Azure Backup Server (MABS), you can proceed with creating a Protection Group. A Protection Group serves as a logical container that defines which workloads will be backed up, how frequently backups occur, and how long recovery points are retained. In this context, the Protection Group will include the virtual machines within your Azure Local environment that require protection. By organizing resources into a Protection Group, you streamline policy management, ensure consistent backup configuration across selected workloads, and maintain clear visibility over which assets are safeguarded within your backup strategy.
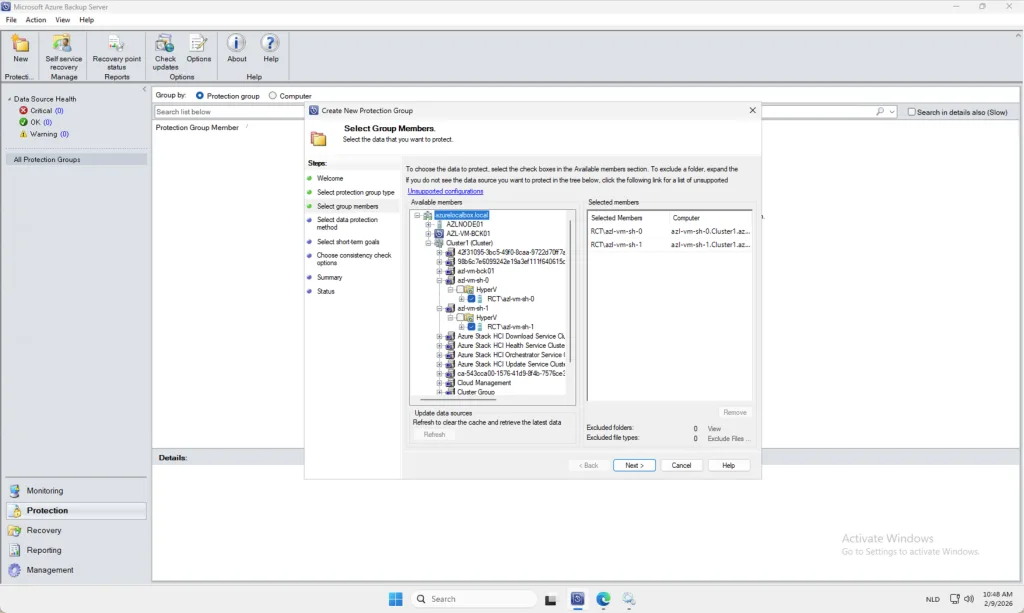

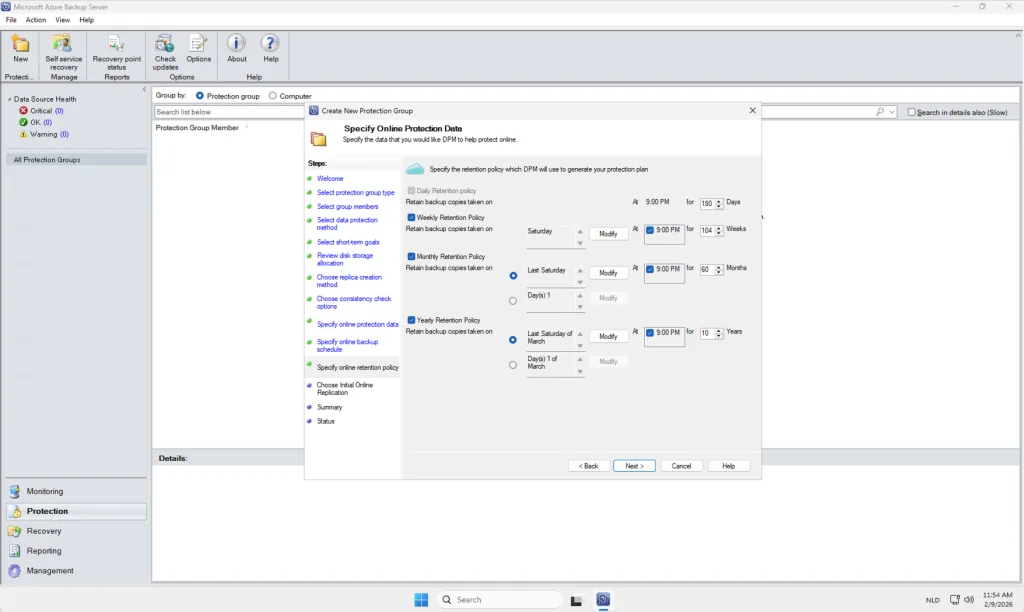
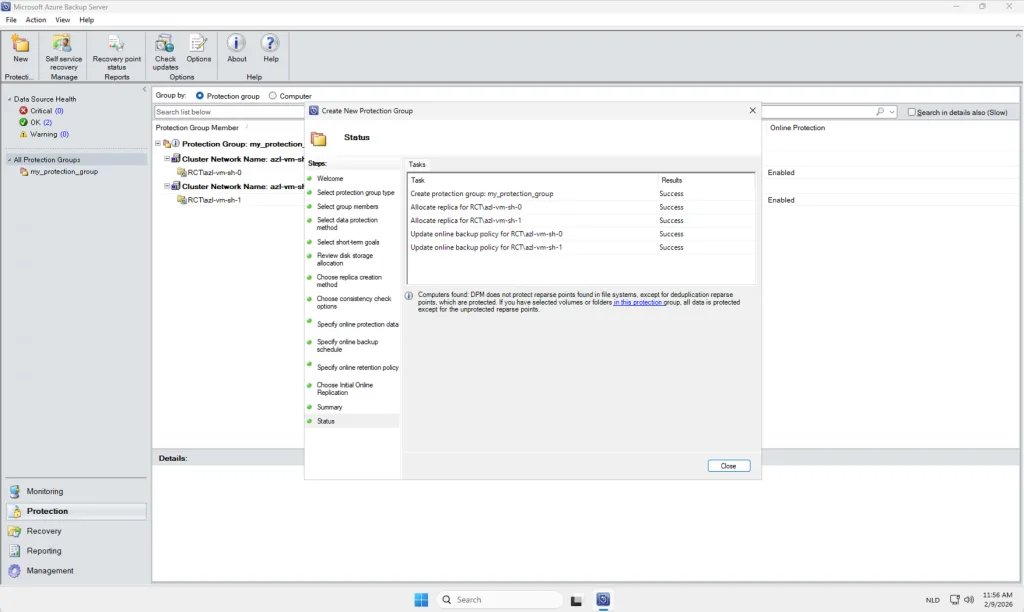
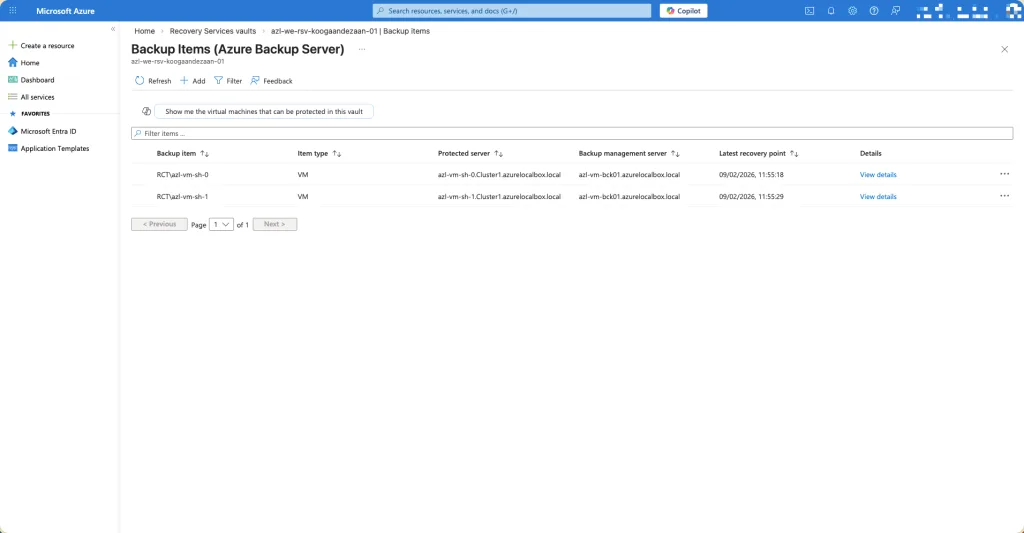
When all components have been configured correctly and the Protection Group has been successfully created, the system will present you with a confirmation page similar to the one shown below. This screen provides an overview of the configured settings, the workloads included in the Protection Group, and the status of the initial backup configuration. Reaching this page indicates that the setup process has been completed without errors and that your environment is now ready to begin scheduled or on‑demand backup operations.
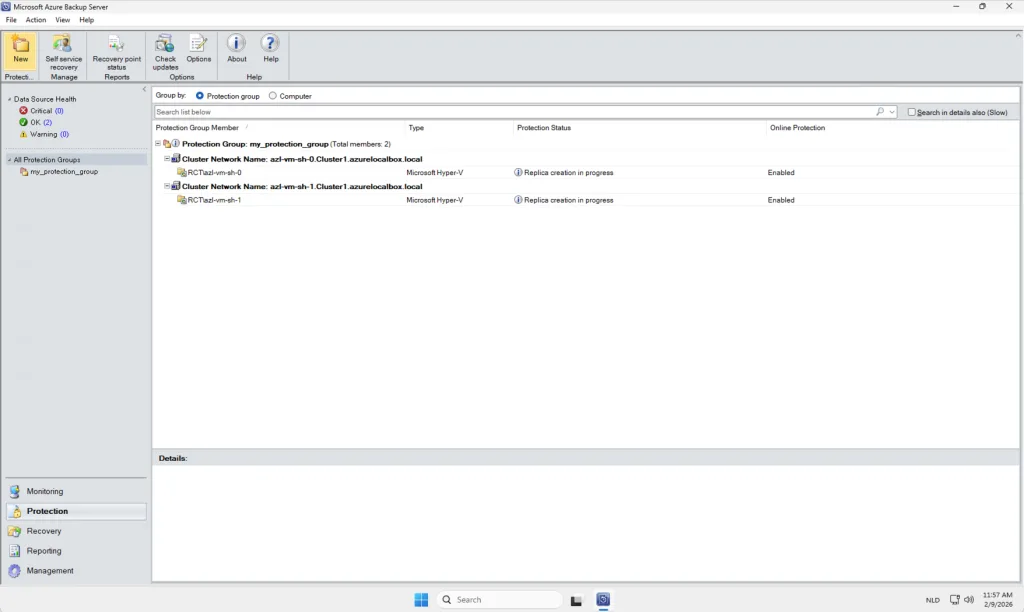
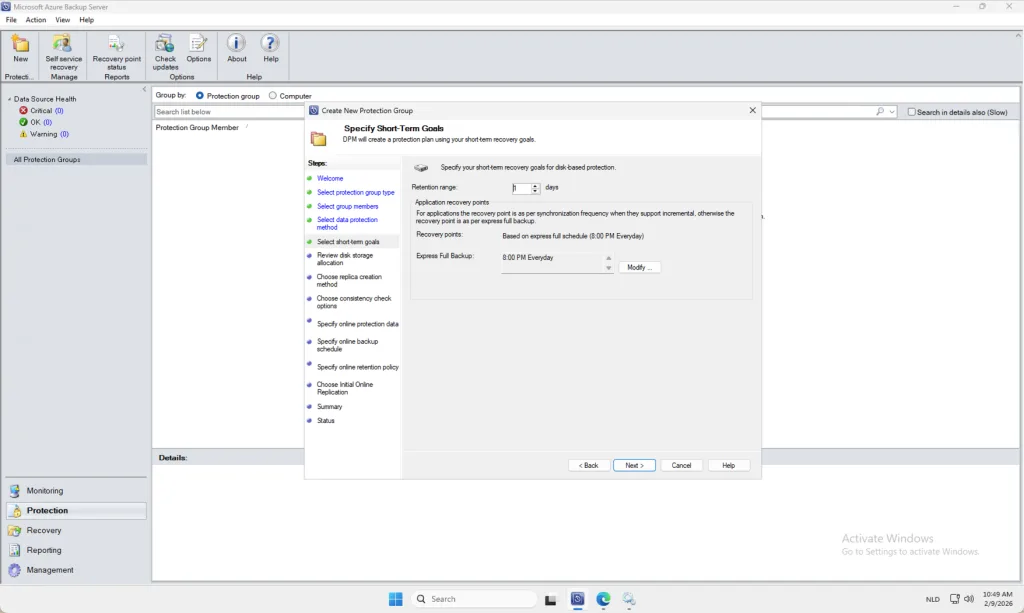
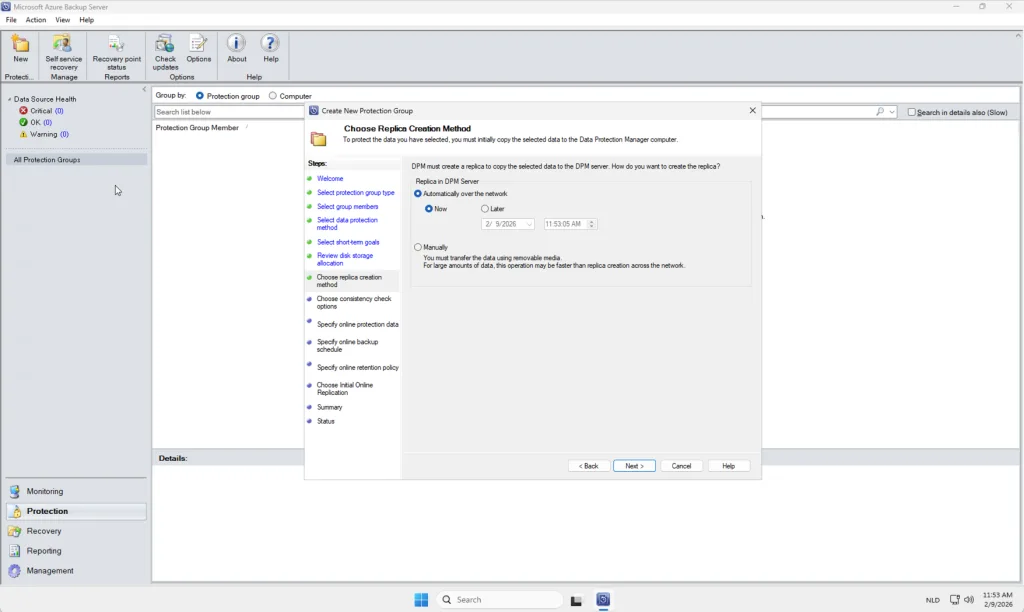
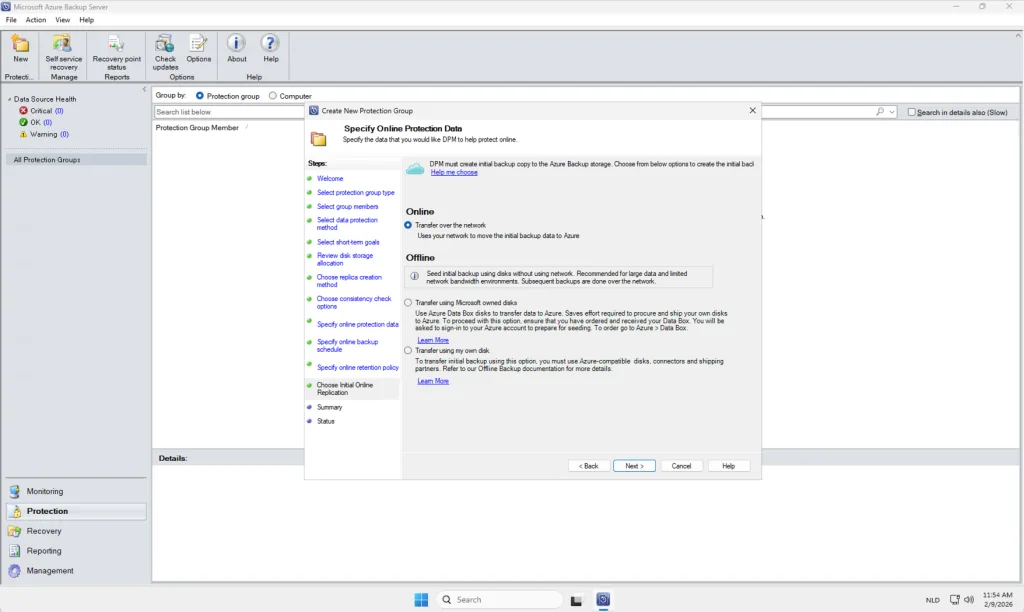
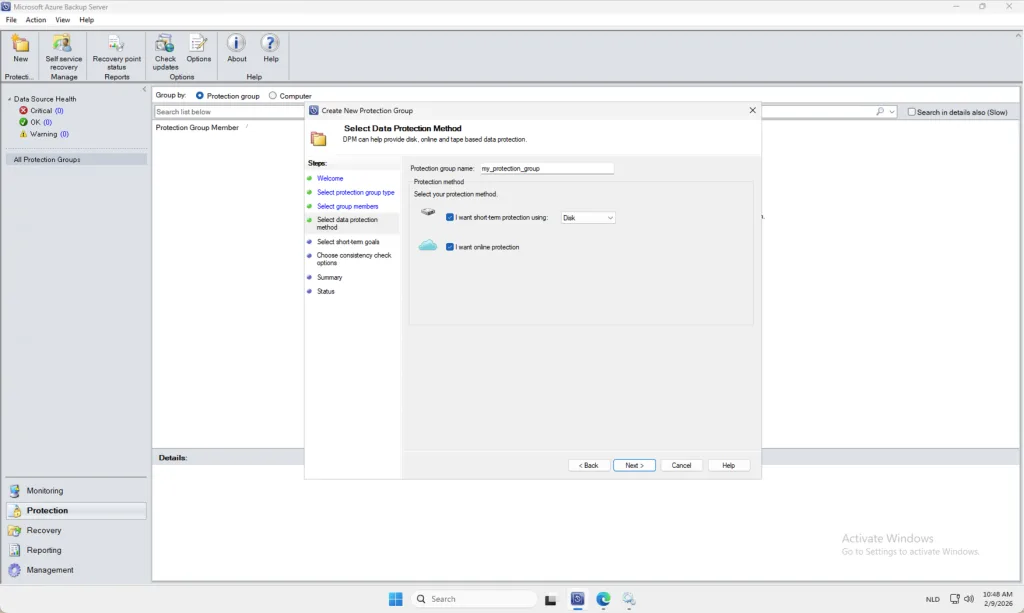
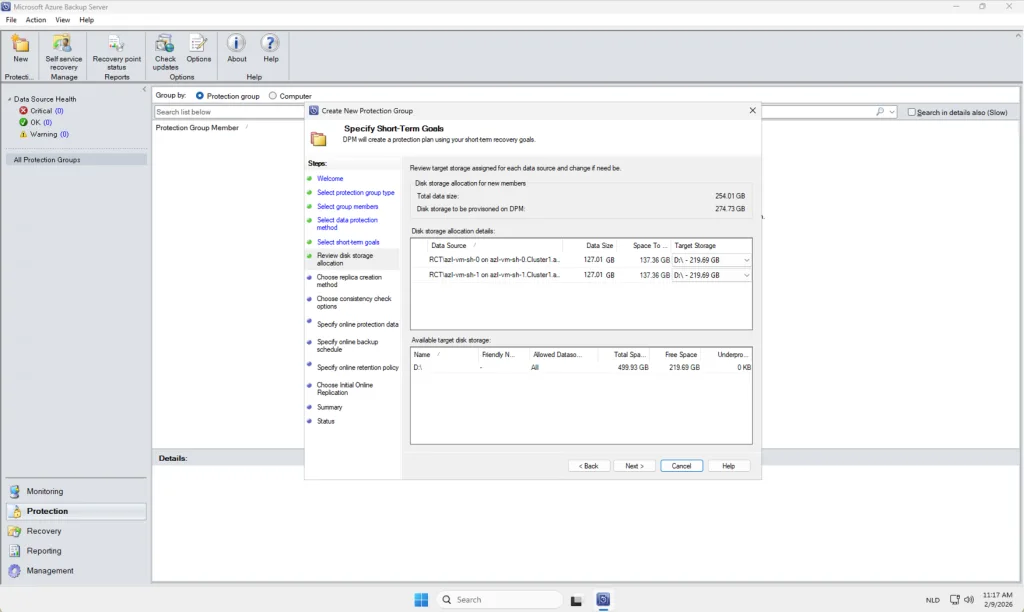
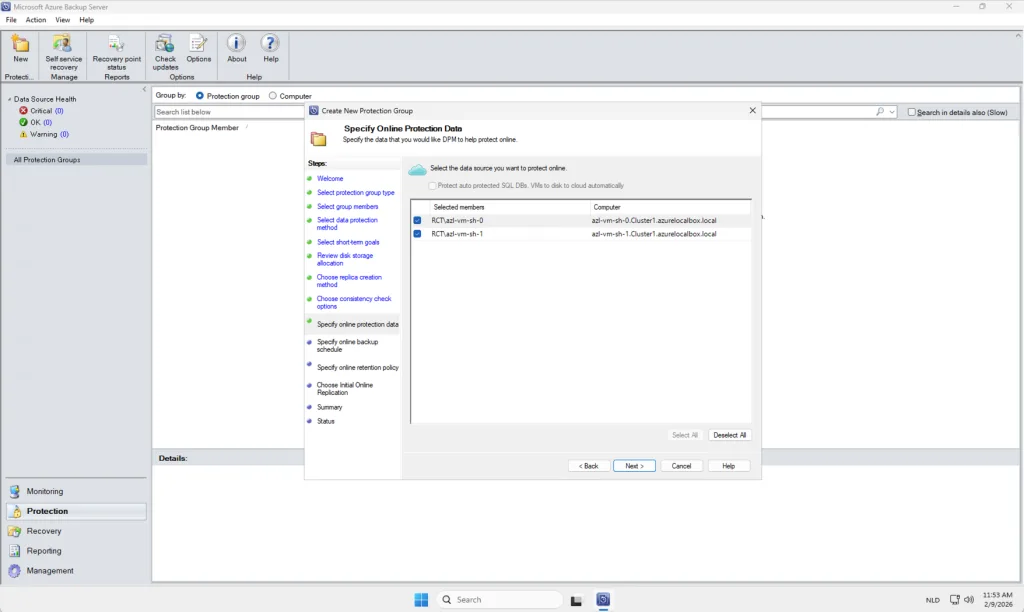
In this example, I have added two virtual machines from my cluster to the newly created Protection Group. For demonstration purposes, I kept all configuration settings at their default values to provide a clear and straightforward overview of how the process works within Microsoft Azure Backup Server (MABS). In a production environment, however, you are encouraged to tailor these settings to meet your specific operational, performance, and compliance requirements. This may include customizing backup schedules, retention durations, data consistency options, or workload‑specific parameters to ensure the backup strategy aligns with your organizational policies and recovery objectives.
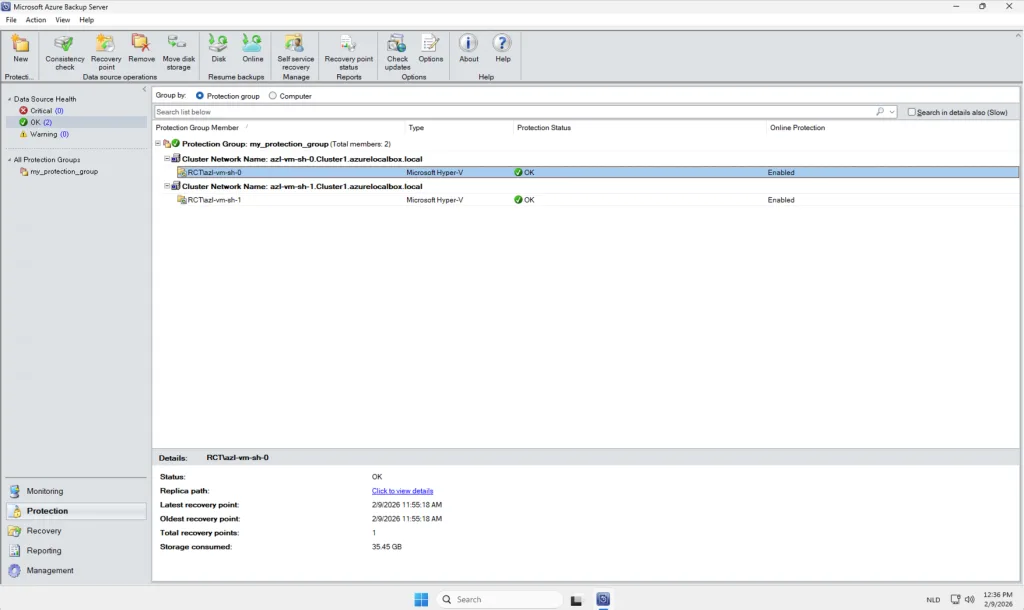
After the replication you will see online this: