M365 Tenant to Tenant | Avepoint

In earlier posts, I described how to migrate email tenant to tenant using the microsoft native tools (Enterprise agreement needed) and BitTitan. Today we are using Avepoint Fly.
AvePoint Fly is an innovative software solution that revolutionizes data migration, management, and collaboration in the cloud. With its user-friendly interface and advanced algorithms, Fly simplifies the complex process of migrating data from various sources to cloud platforms like Microsoft 365, SharePoint, and Azure. It handles large-scale migrations effortlessly, preserving metadata, permissions, and relationships while ensuring data integrity and minimal downtime.
Fly offers comprehensive data management features, allowing organizations to organize, classify, and tag their data for efficient search and retrieval. Its robust security and compliance capabilities enable administrators to define access controls, monitor activities, and enforce data governance policies.
Fly also facilitates collaboration and productivity by providing collaborative workspaces for real-time document collaboration, version control, and seamless synchronization across devices. It integrates with popular productivity tools, empowering employees to work from anywhere while maintaining data consistency.
Use case
In this example, I am using Avepoint Fly for migrate mailboxes from GetToTheCloudSource to GetToTheCloudTarget. We need to have an identity mapping, provision all mailboxes up front, provision OneDrive upfront and set some properties for the user to continue receiving email.
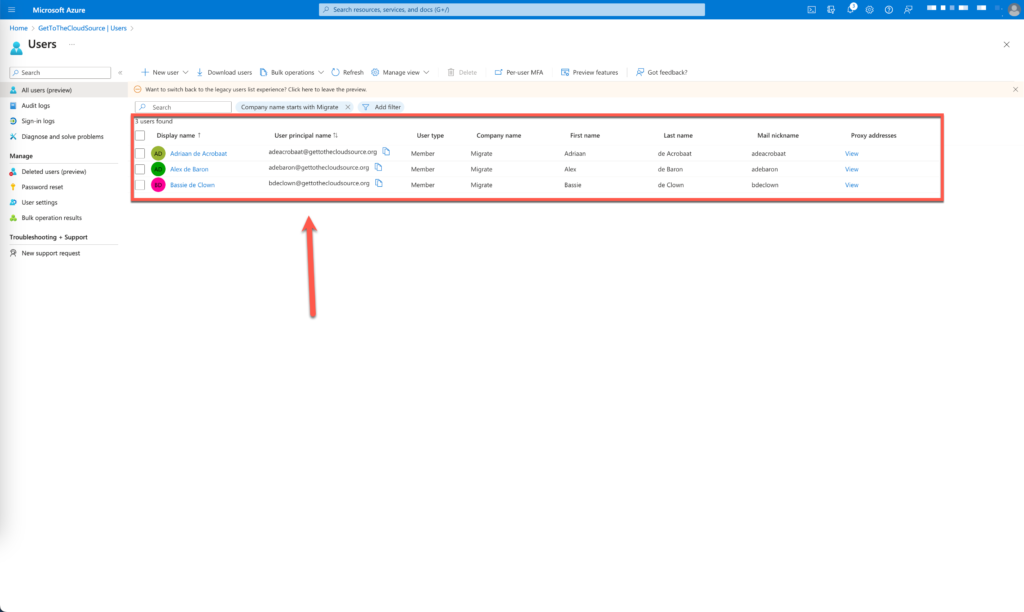
We have three users that we would like to migrate:
| DisplayName | Source | MailAddress |
| Adriaan de Acrobaat | GetToTheCloudSource | adeacrobaat@gettothecloudsource.org |
| Alex de Baron | GetToTheCloudSource | adebaron@gettothecloudsource.org |
| Bassie de Clown | GetToTheCloudSource | bdeclown@gettothecloudsource.org |
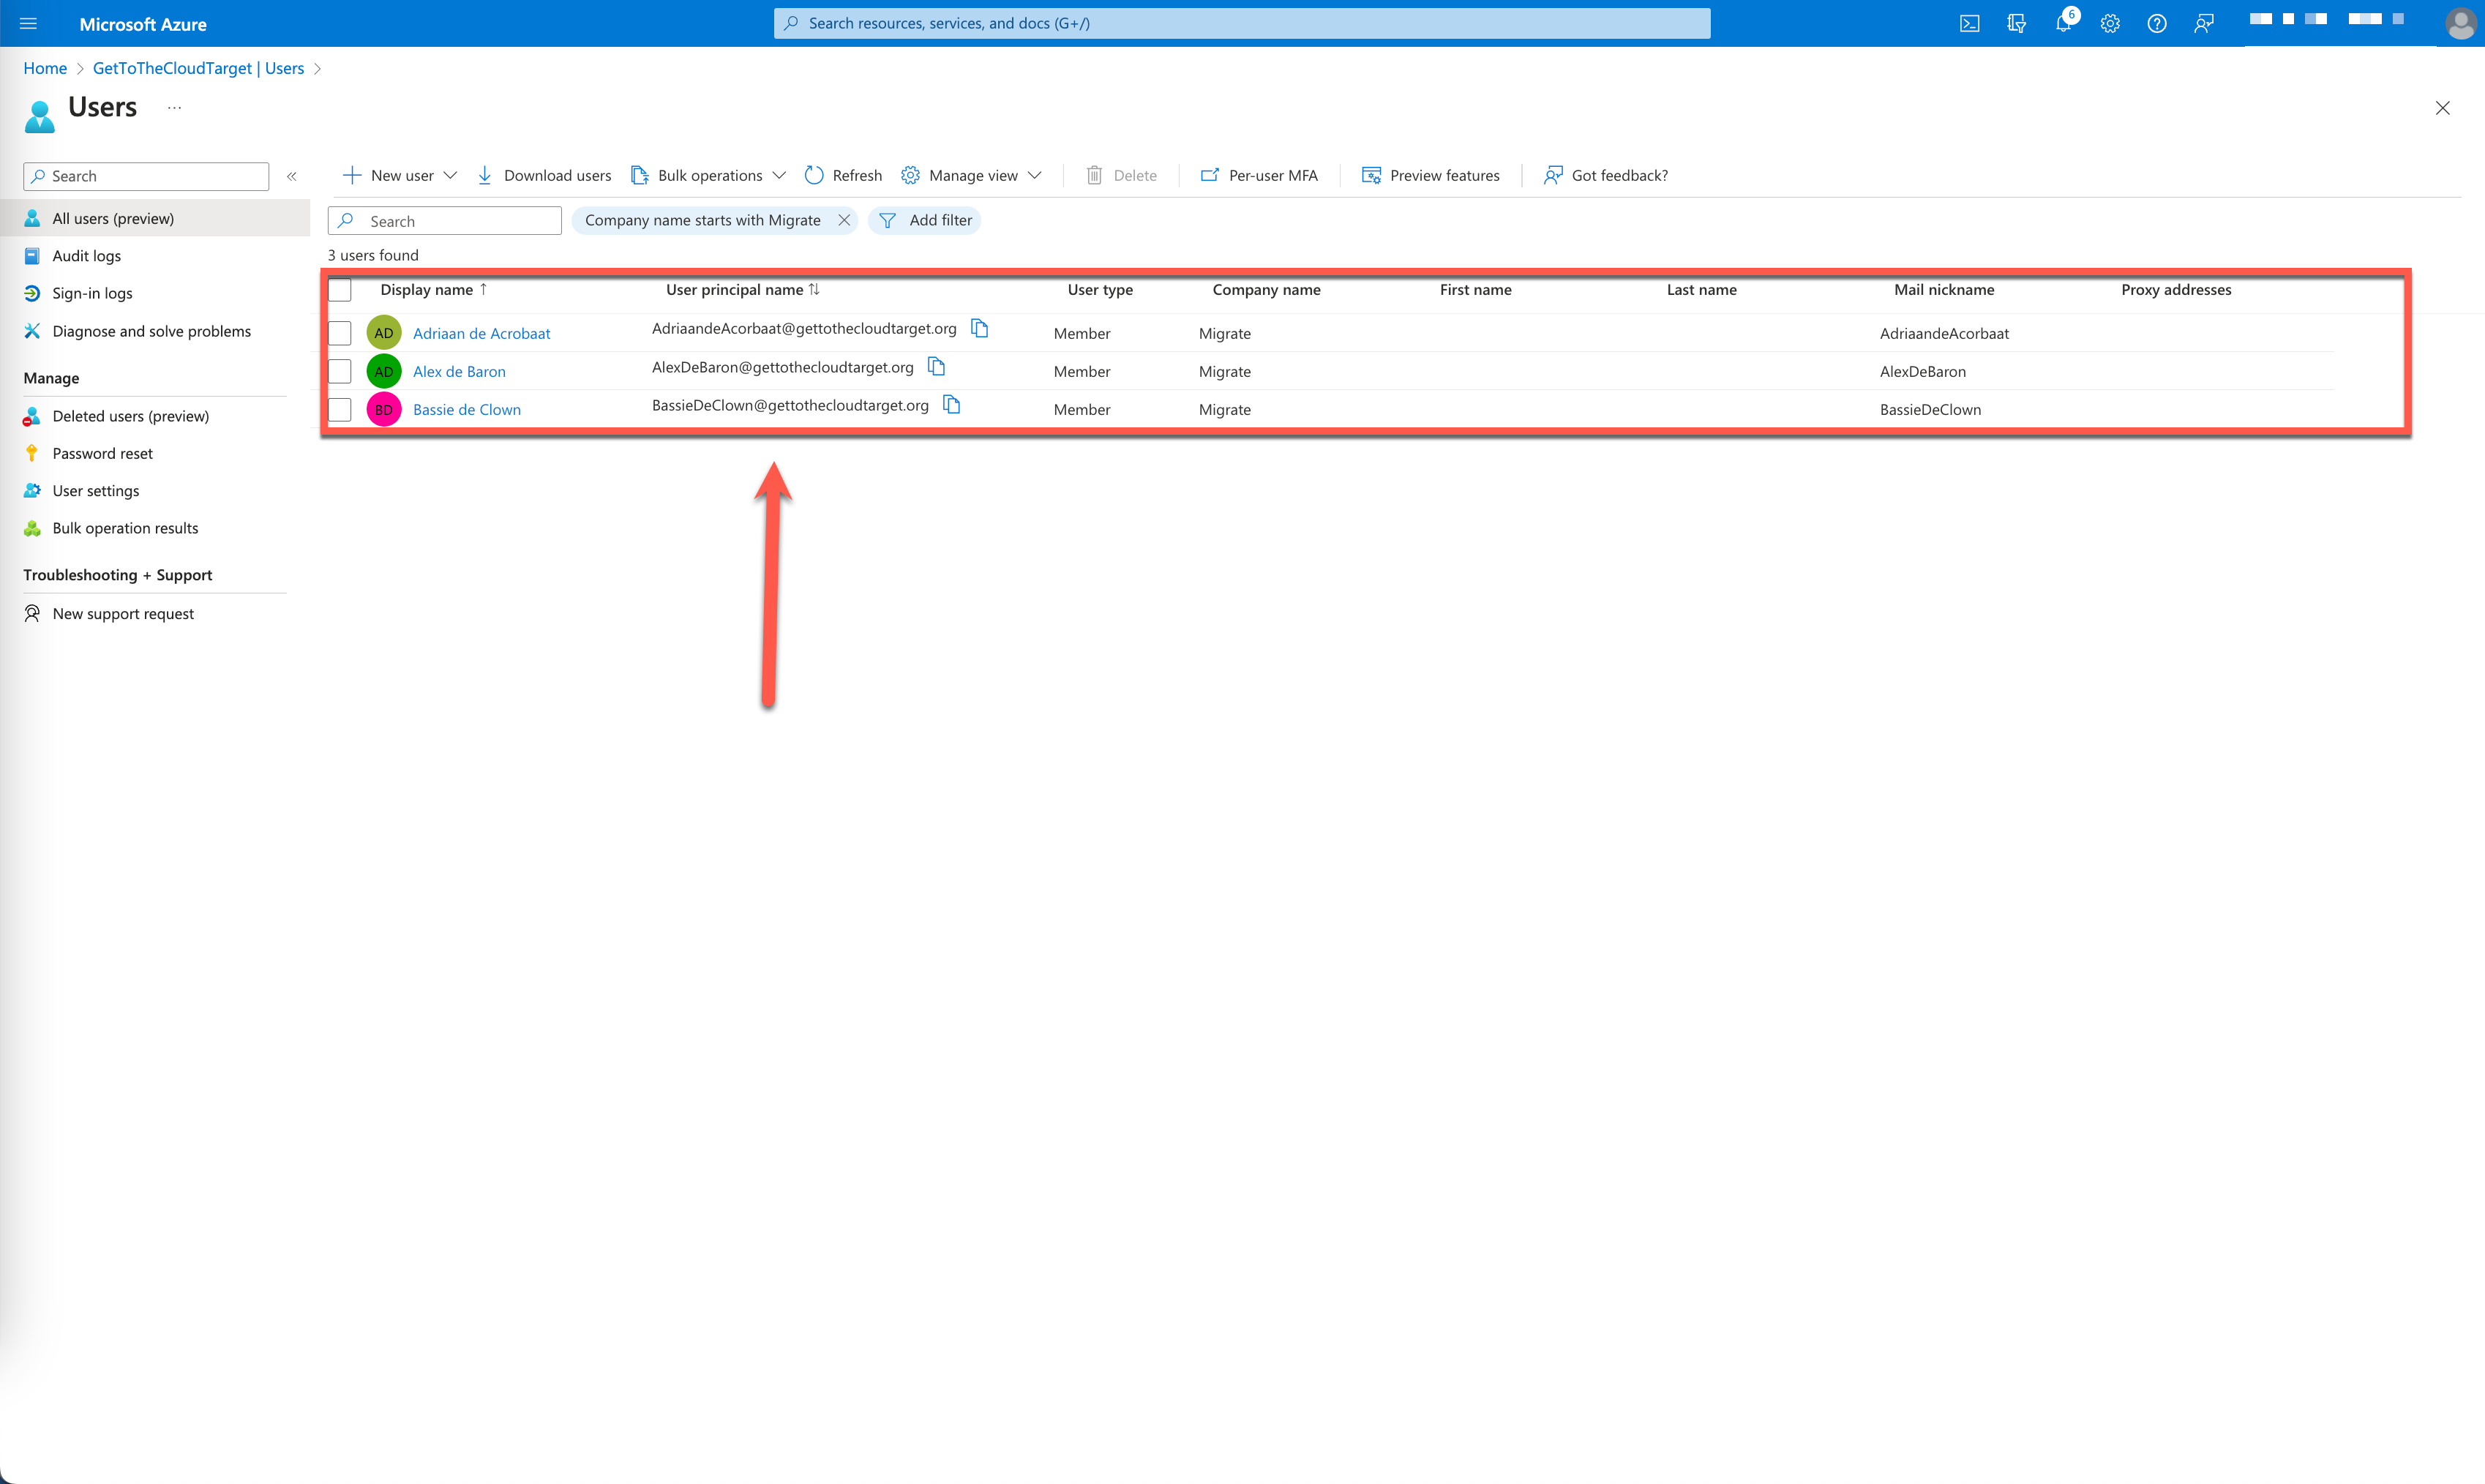
At the target the users are already created and provisioned with a mailbox (as needed)
| DisplayName | Source | MailAddress |
| Adriaan de Acrobaat | GetToTheCloudTarget | adriaandeacrobaat@gettothecloudtarget.org |
| Alex de Baron | GetToTheCloudTarget | alexdebaron@gettothecloudtarget.org |
| Bassie de Clown | GetToTheCloudTarget | bassiedeclown@gettothecloudtarget.org |
Now we have everything in place, we can start configuring Avepoint Fly.
Configuration AvePoint Fly
First we need to create an account for AvePoint. Browse to AvePoint Online Services.
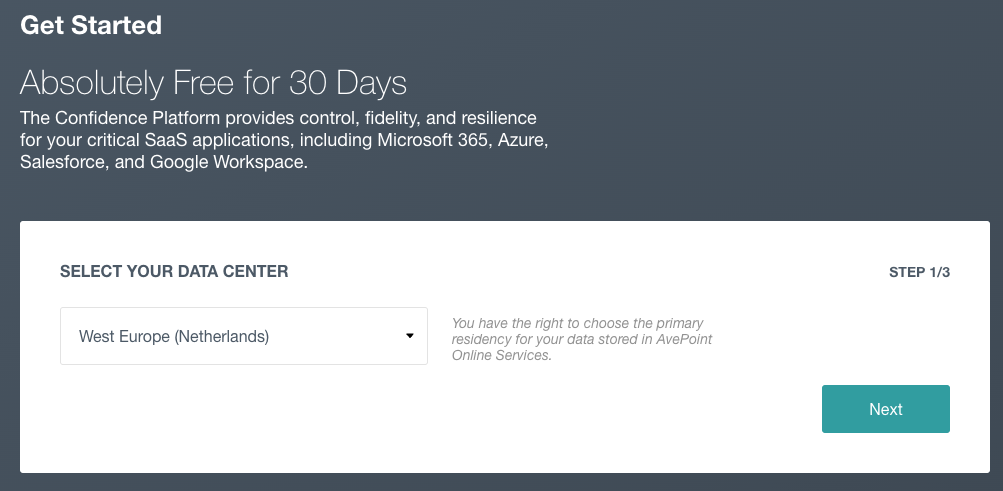
Select the Data center close to your tenants
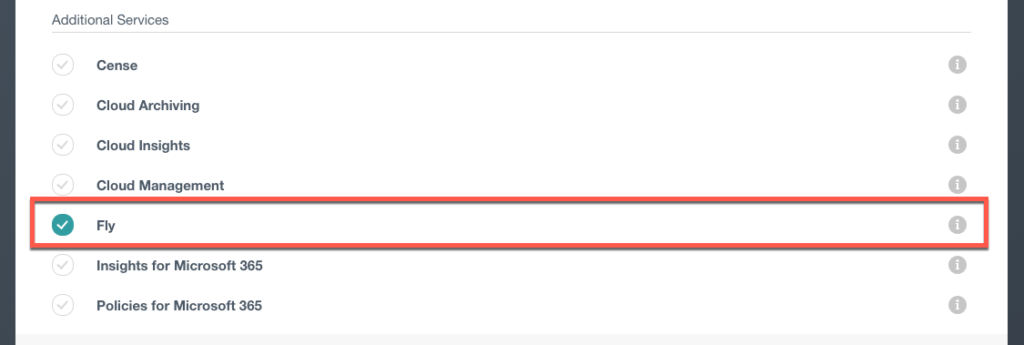
Select Fly and click next. Next fill in the form and complete the signup.
After completion and verification we can login to Fly. Browse to https://fly.avepointonlineservices.com and login with your credentials created earlier.
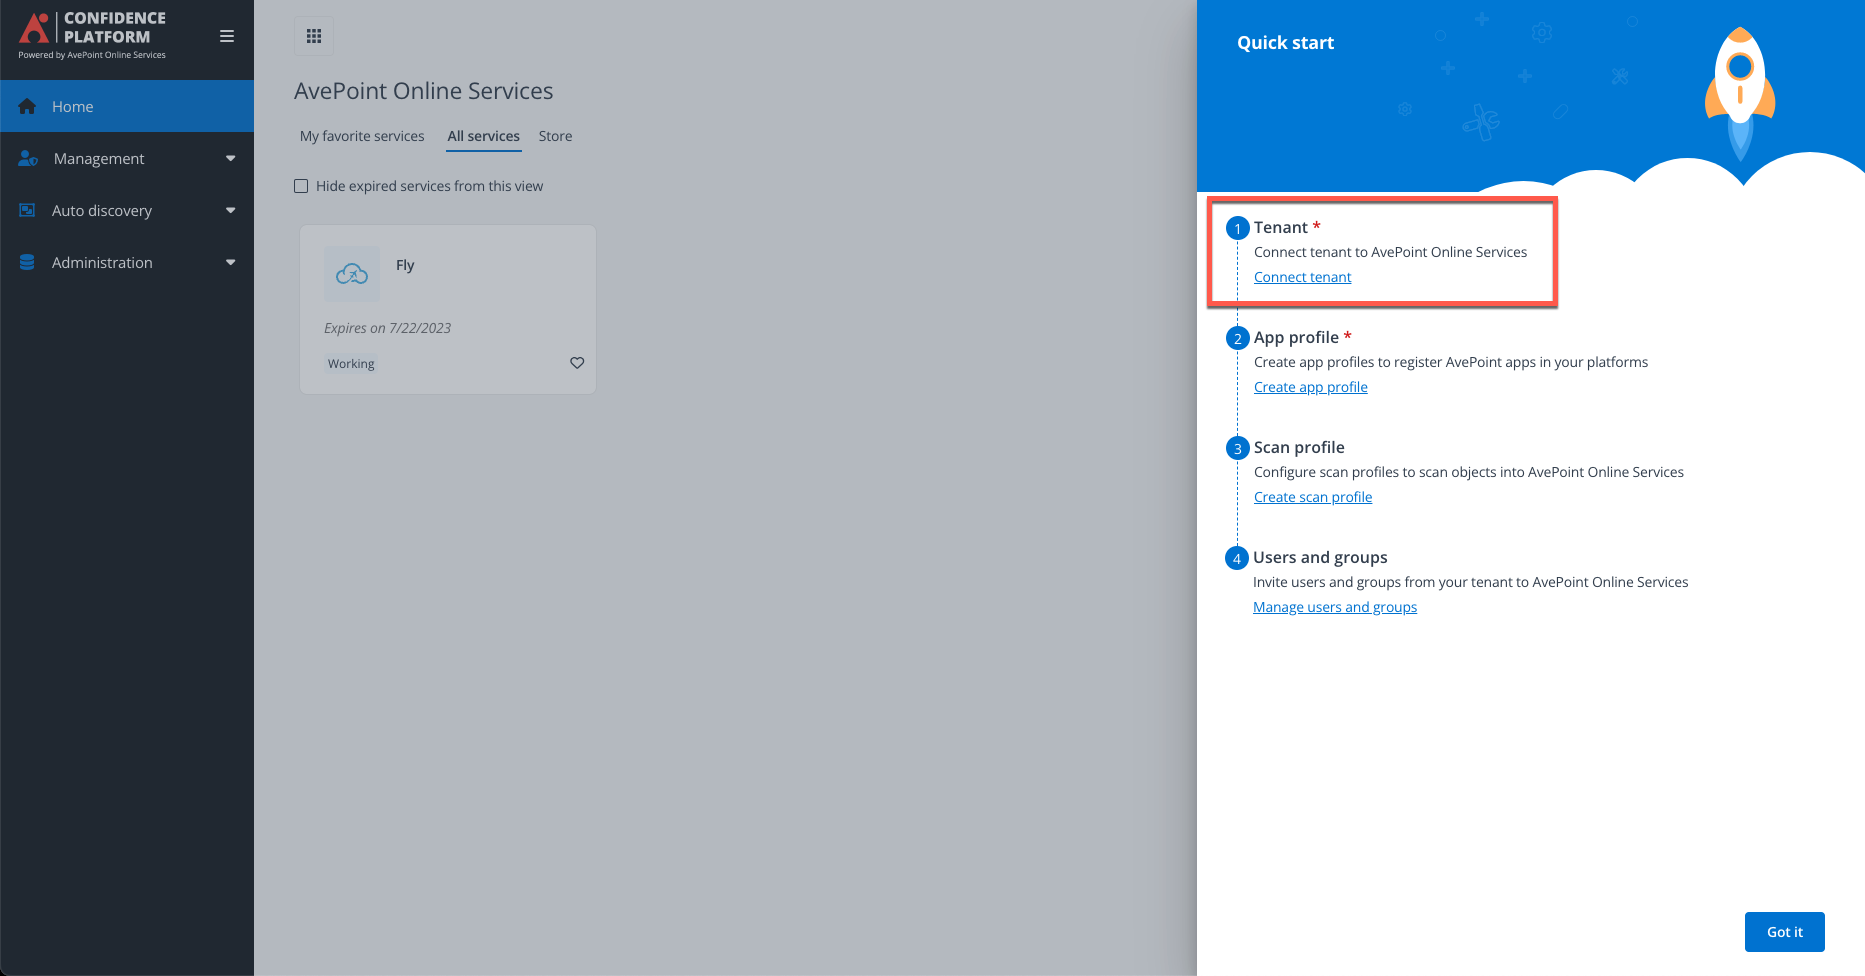
Add tenants
Select Tenant

Select Microsoft
Add both tenants with the correct credentials and information

App management
We need to create for both tenants an App Profile which can be done at App Management
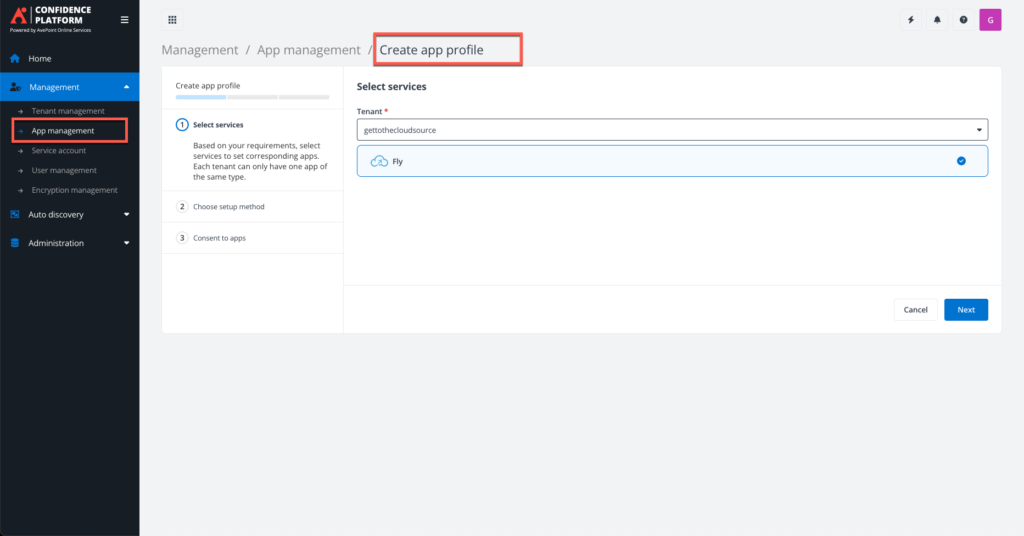
Select your tenant and select Fly
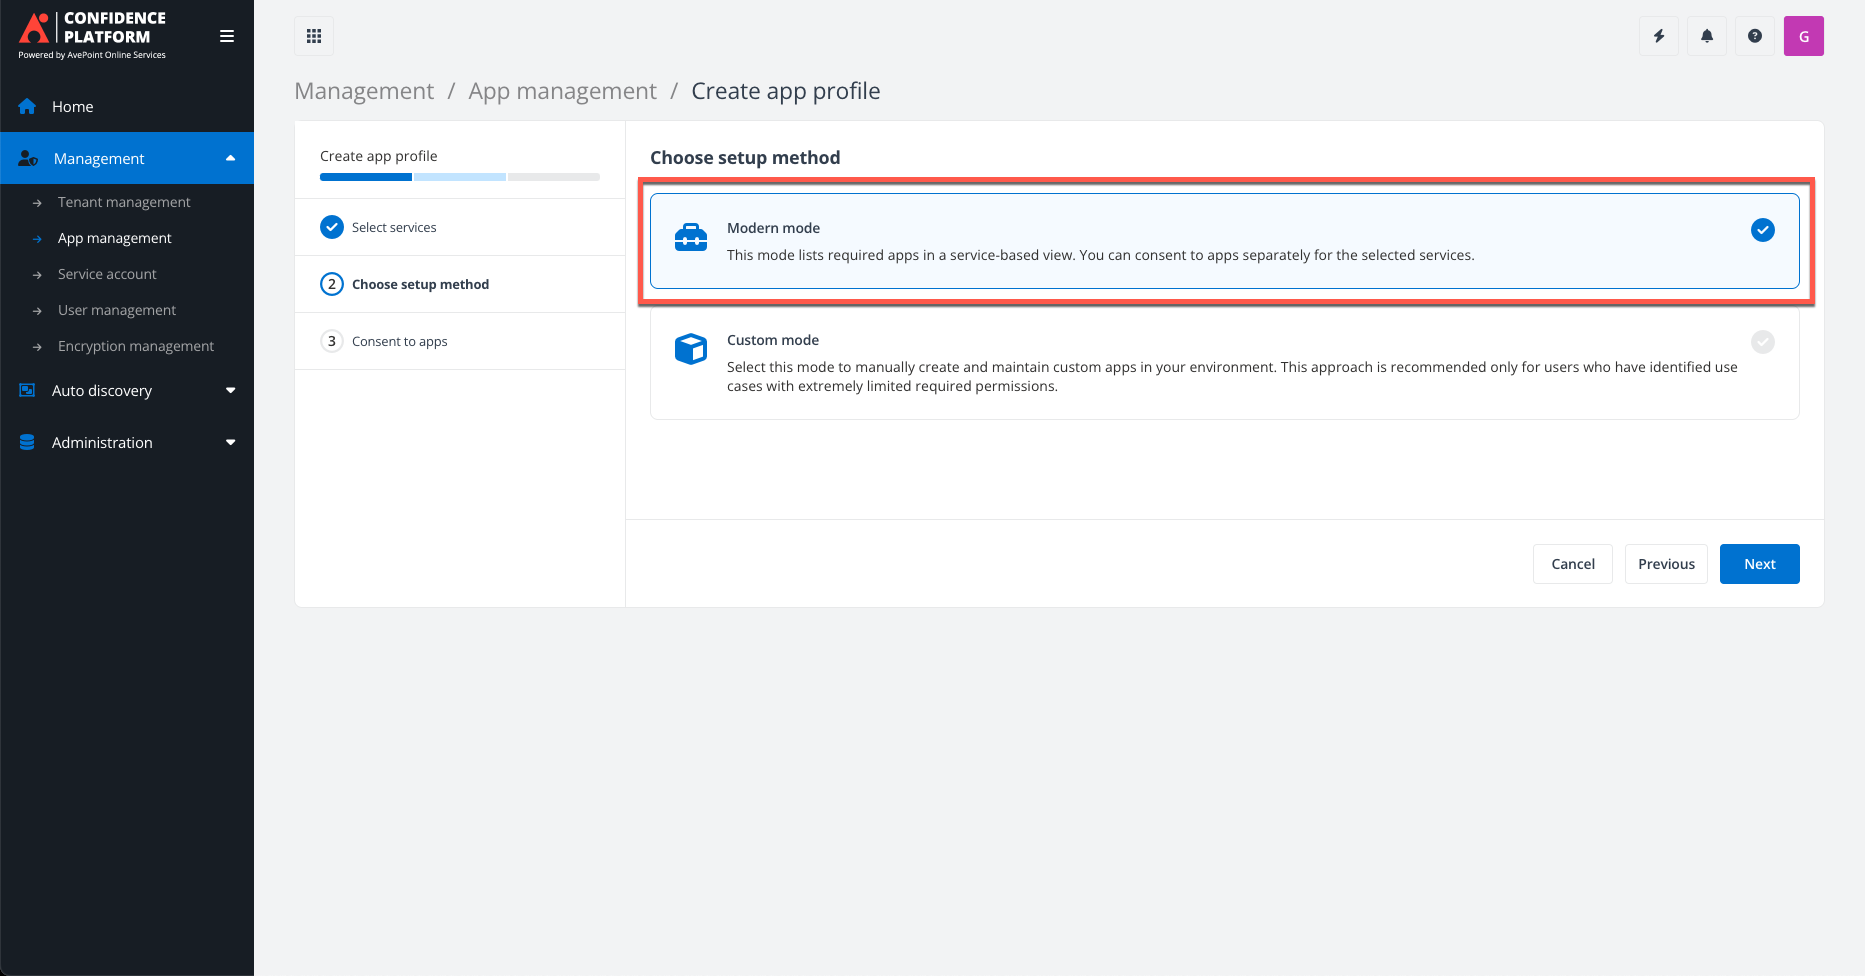
Choose for Modern mode
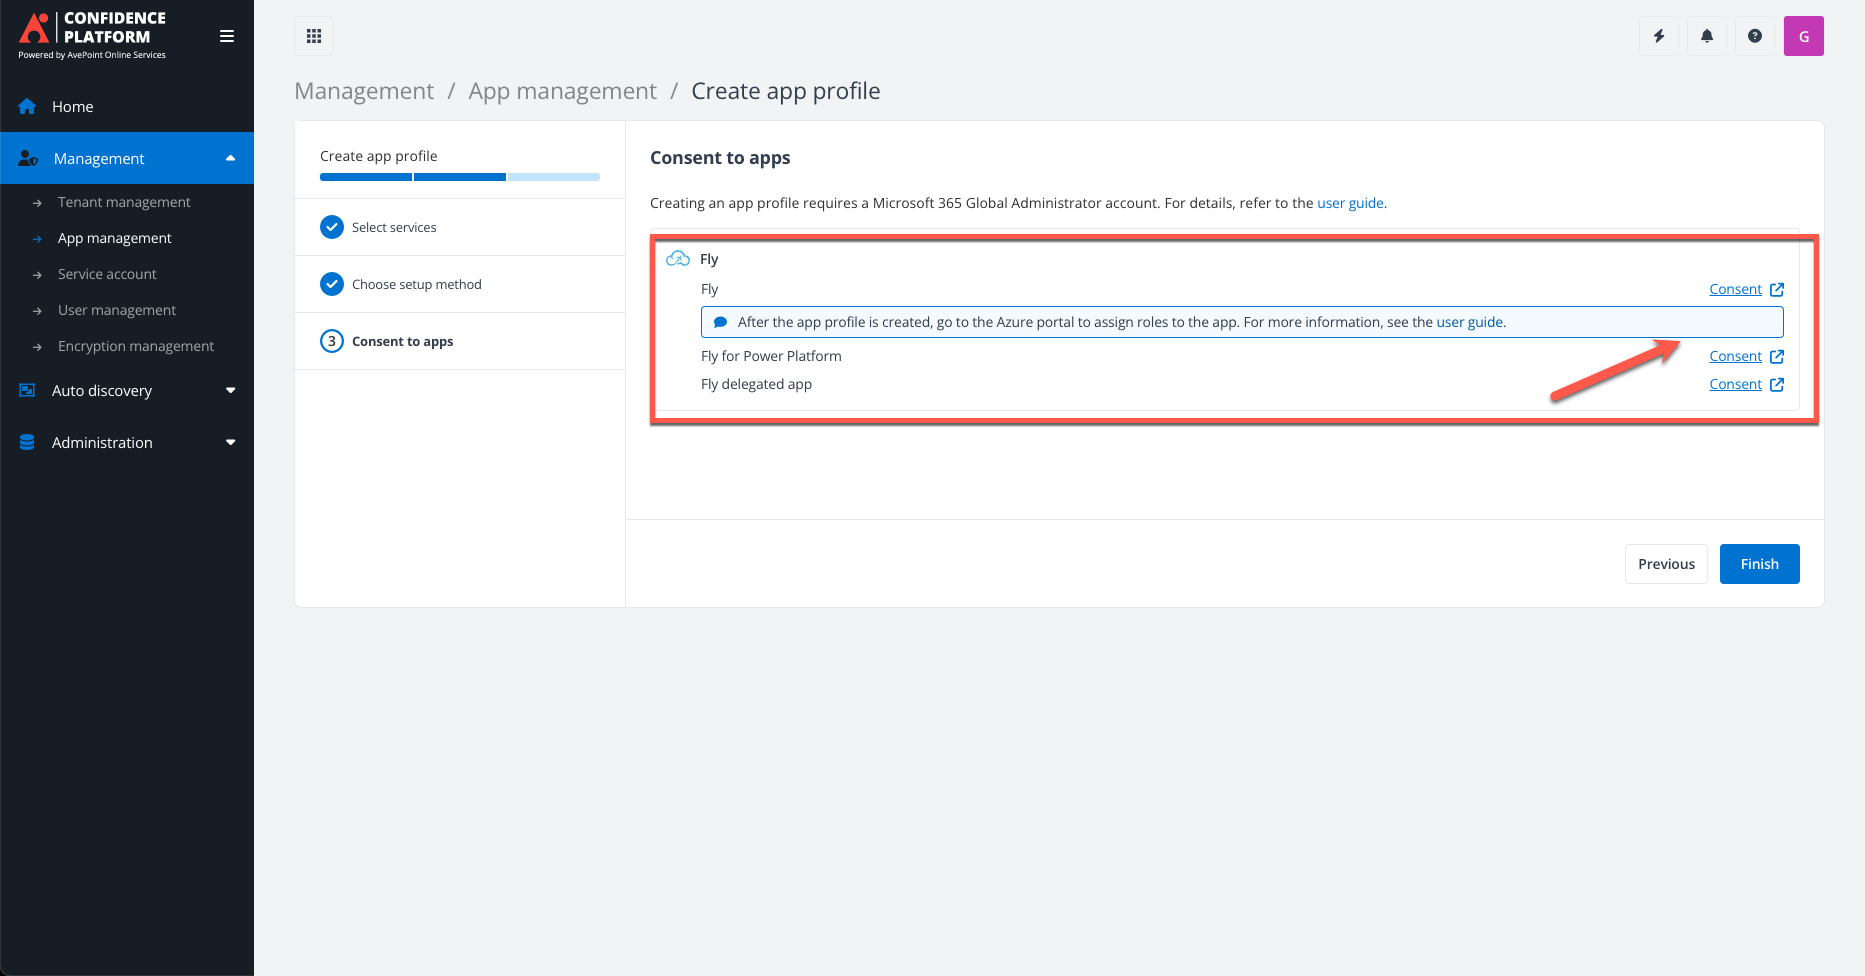
Give consent for all the requested.
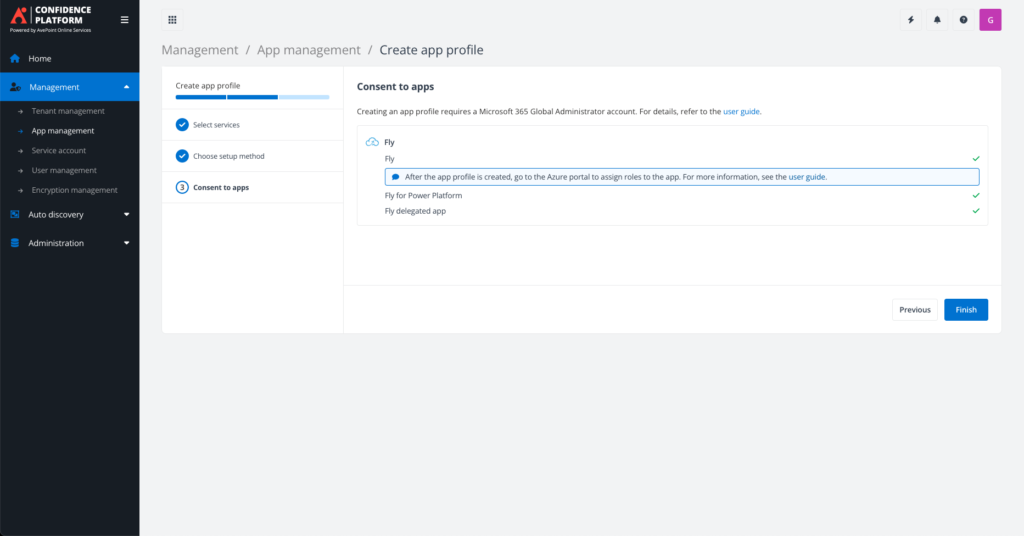
Follow the User guide for additional permissions.
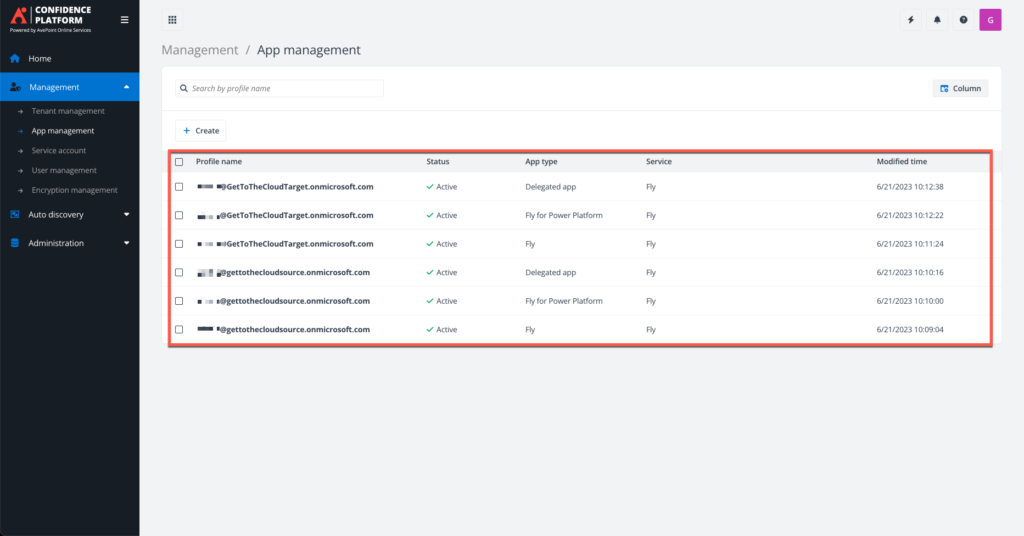
When all is done this will be the result.
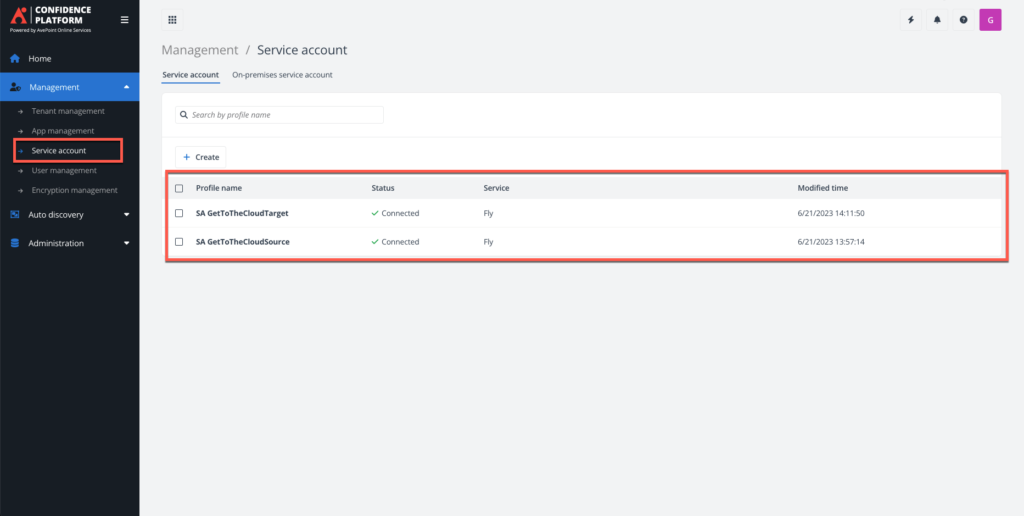
Service Account
We also need to have in both tenants an separate migration account to read the mailboxes.
Scan profile
Next we need to create an scan profile. A Scan profile beholds which must be inventoried by AvePoint Fly.
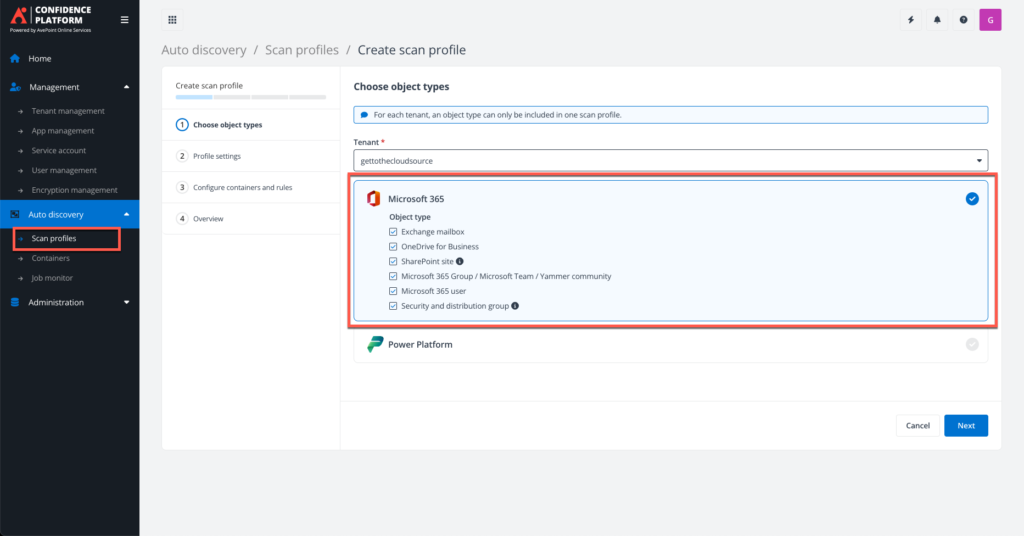
Select Microsoft 365 and select all object types you want to inventory. I selected all.
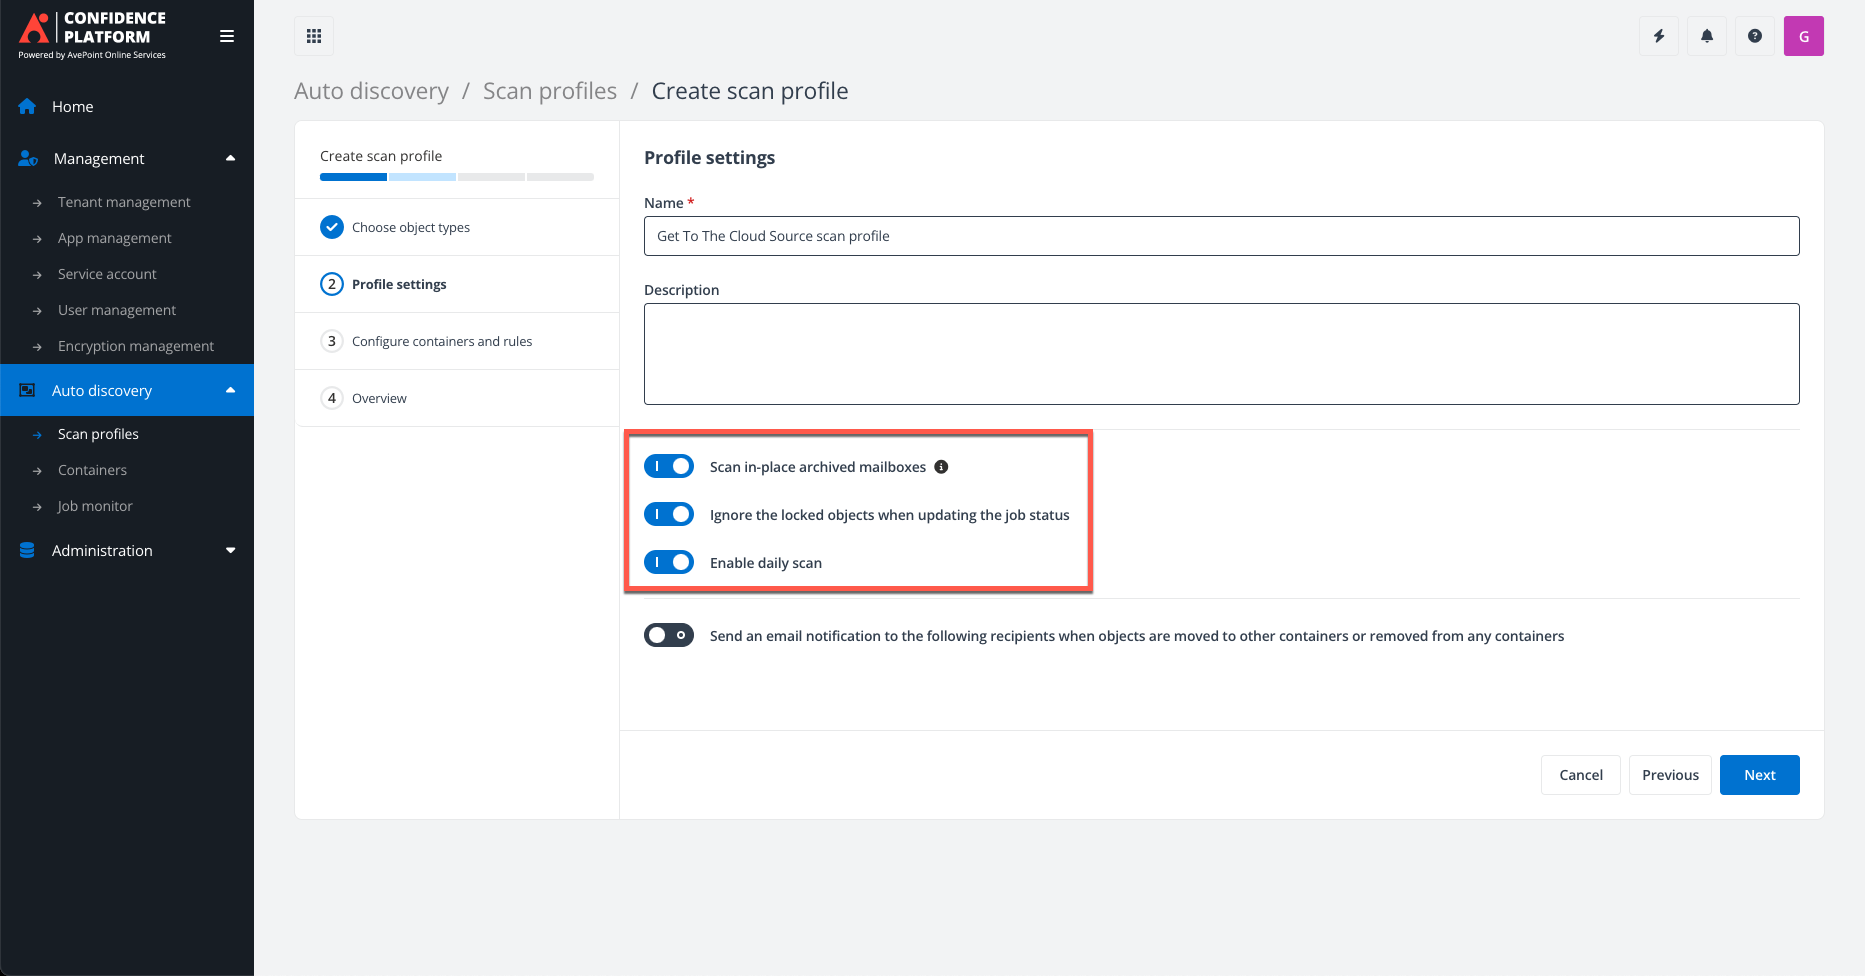
Provide a name and select the three highlighted options.
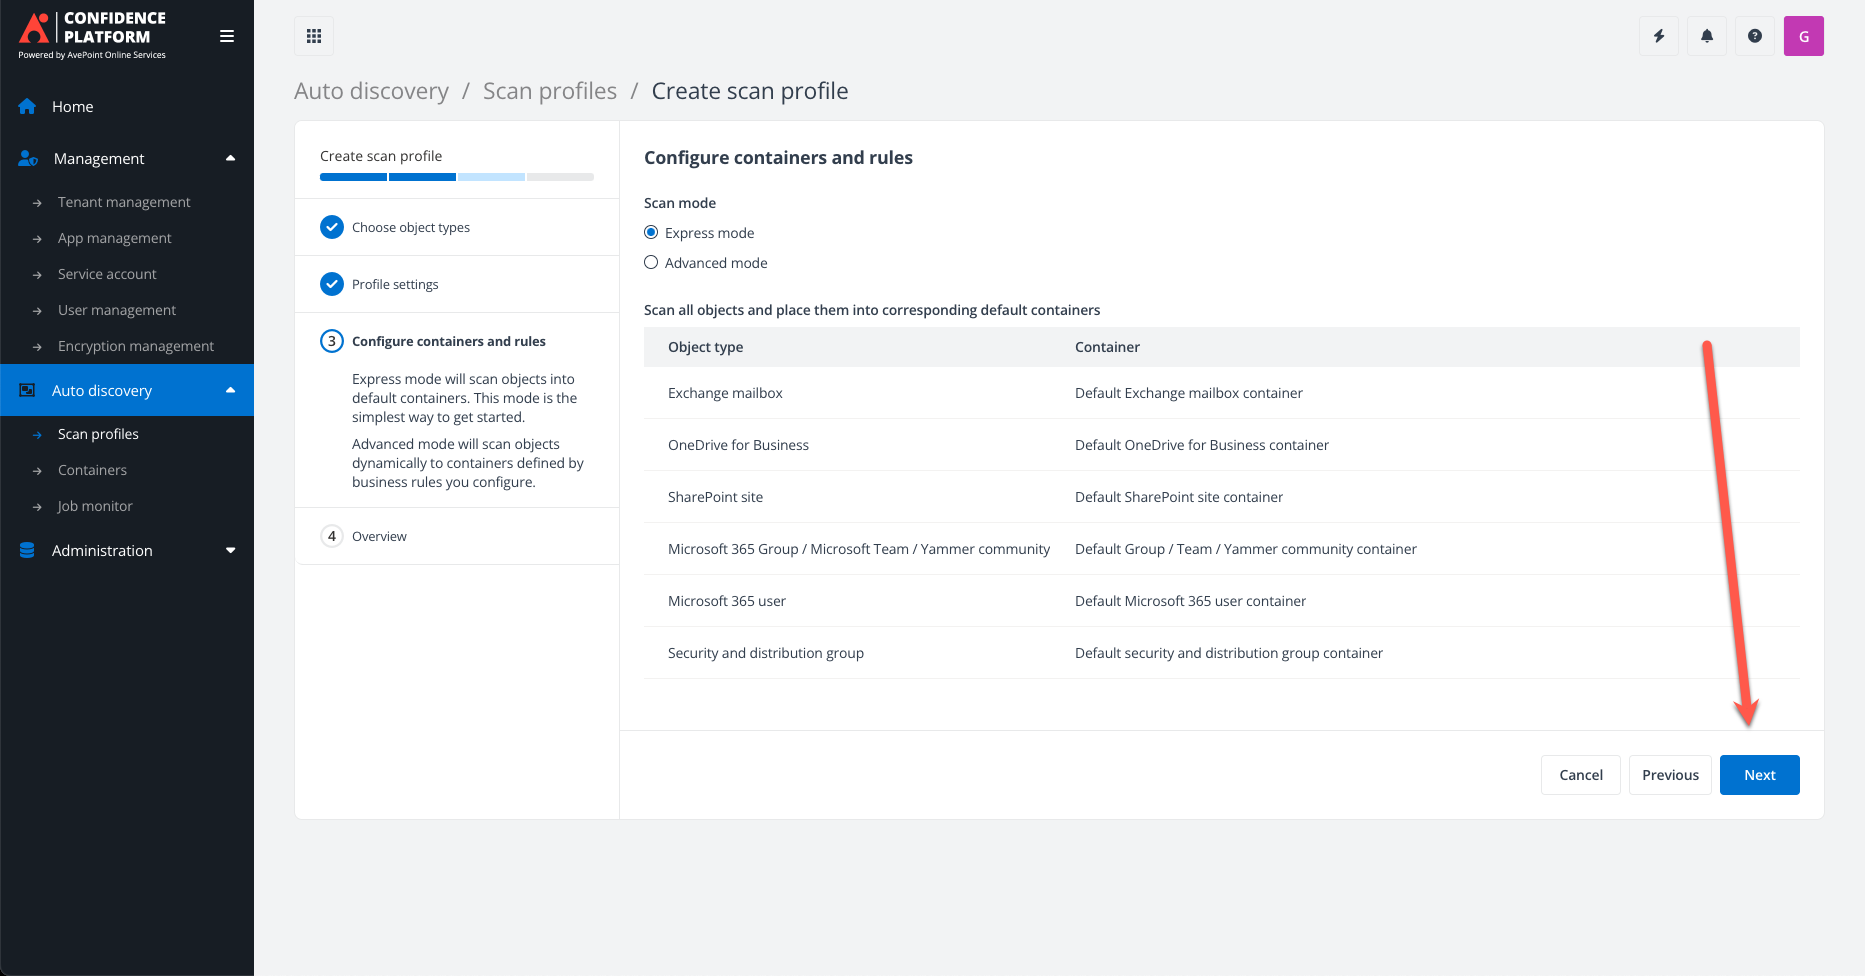
I Choose the Express mode because that if enough for this migration.
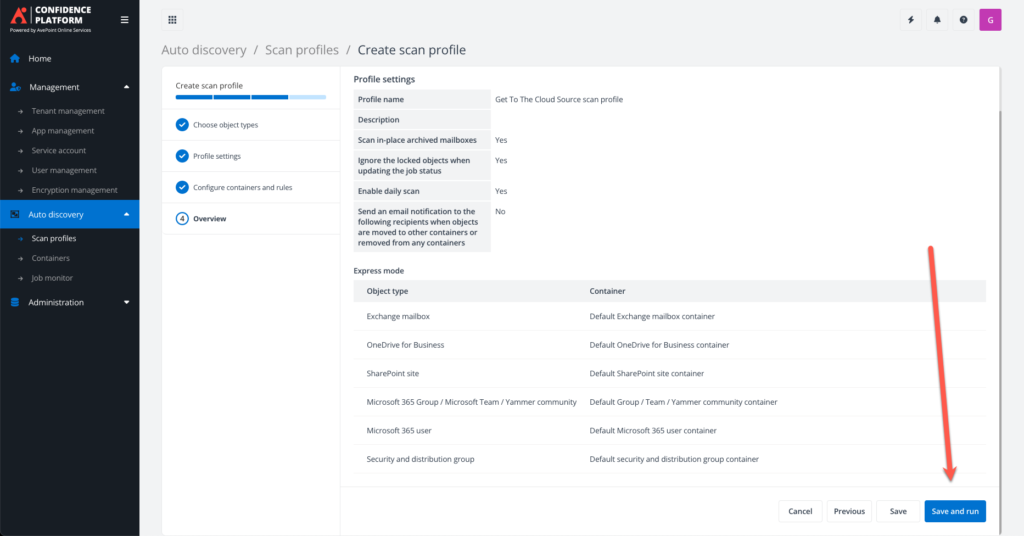
On the summary page select Save and run
AvePoint Fly
Clicking the HOME button will provide you access to Fly. Everything is in place to start creating a project.
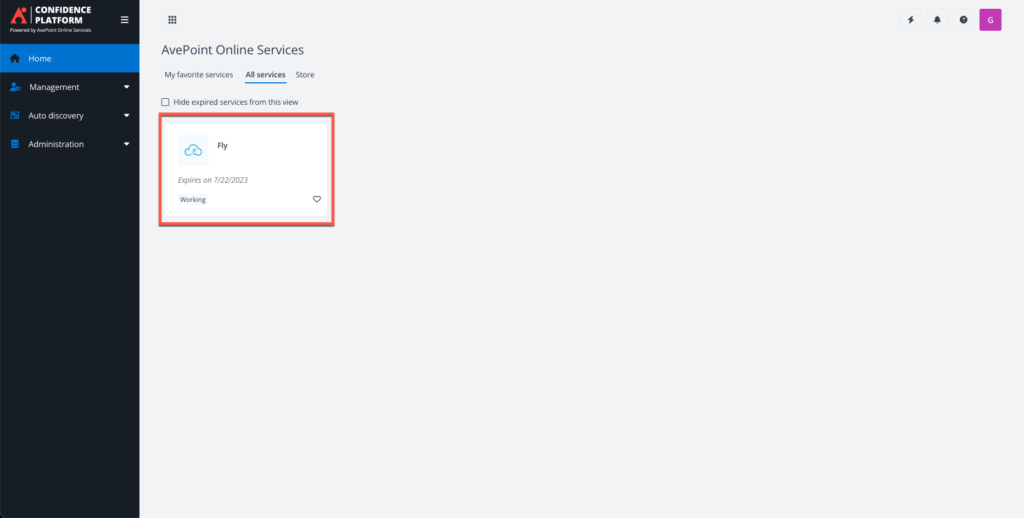
Click on Fly
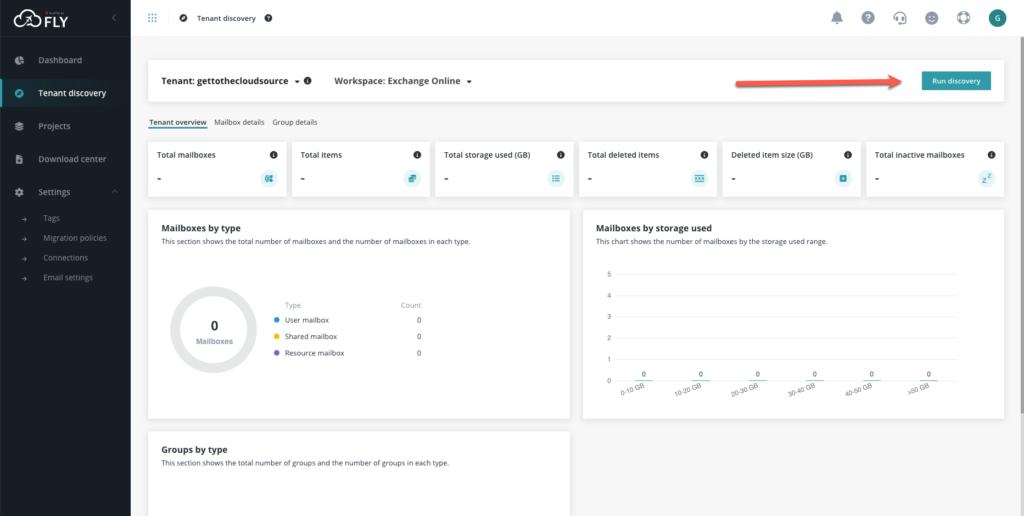
Select the tenant and click Run discovery
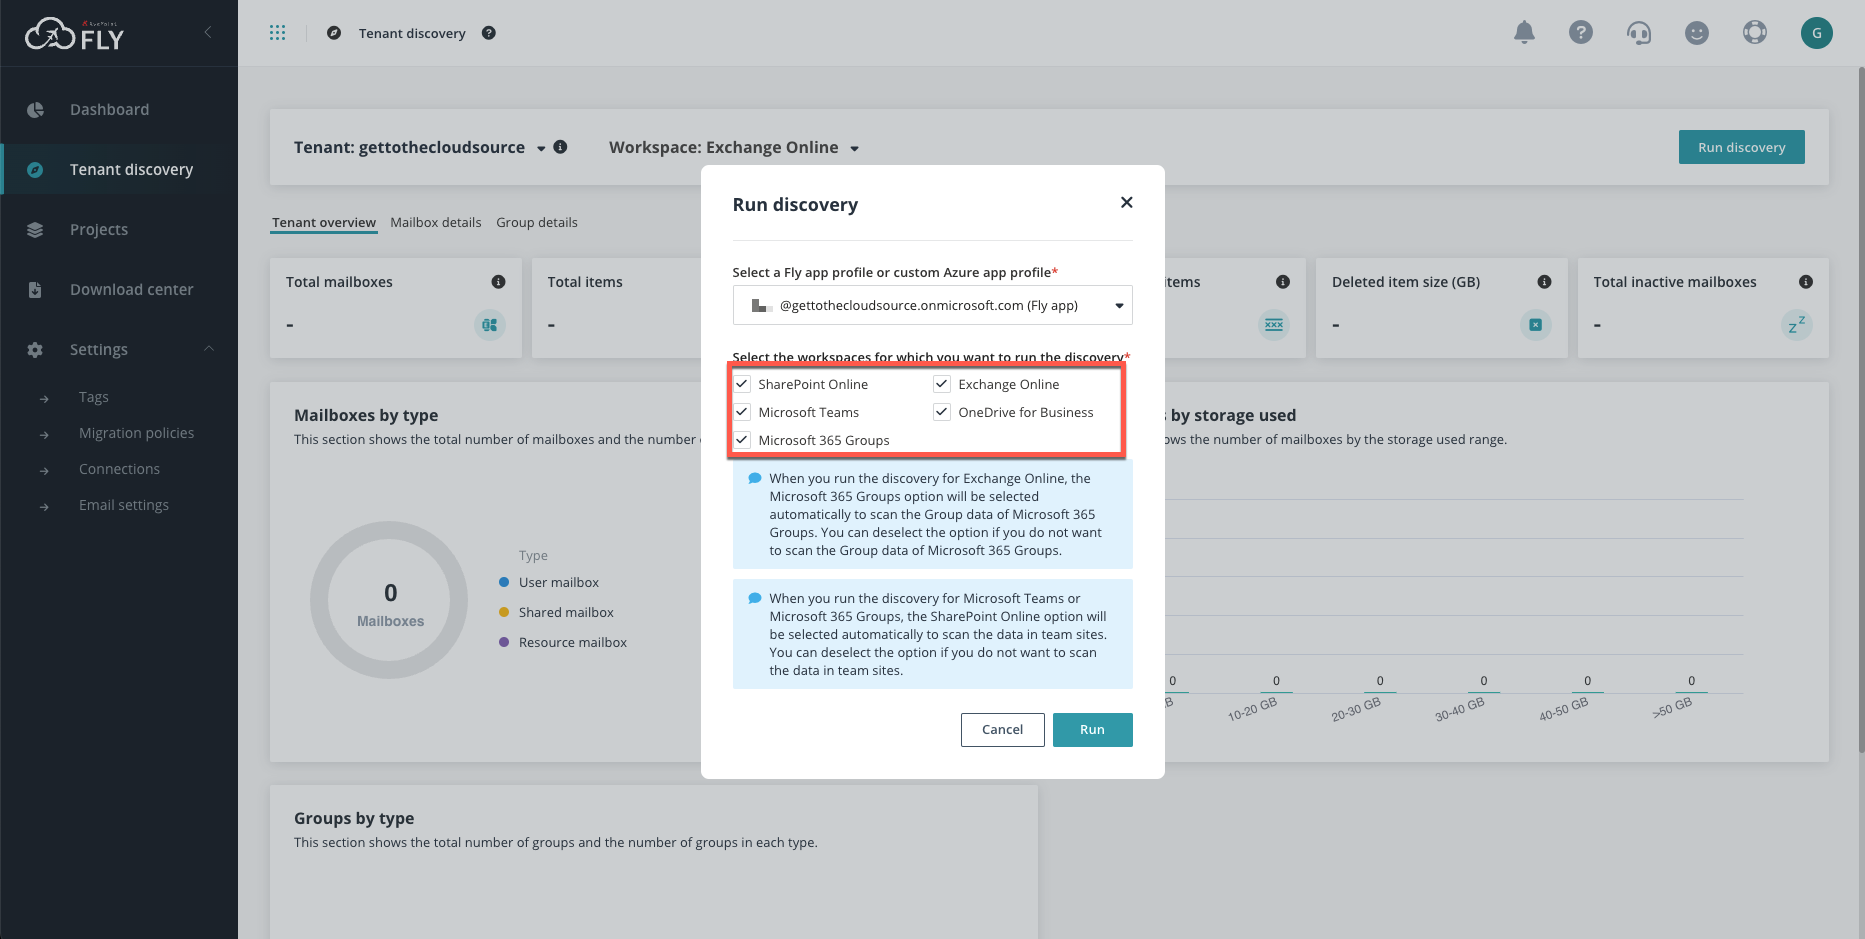
Select what you want and click RUN
Migration Project
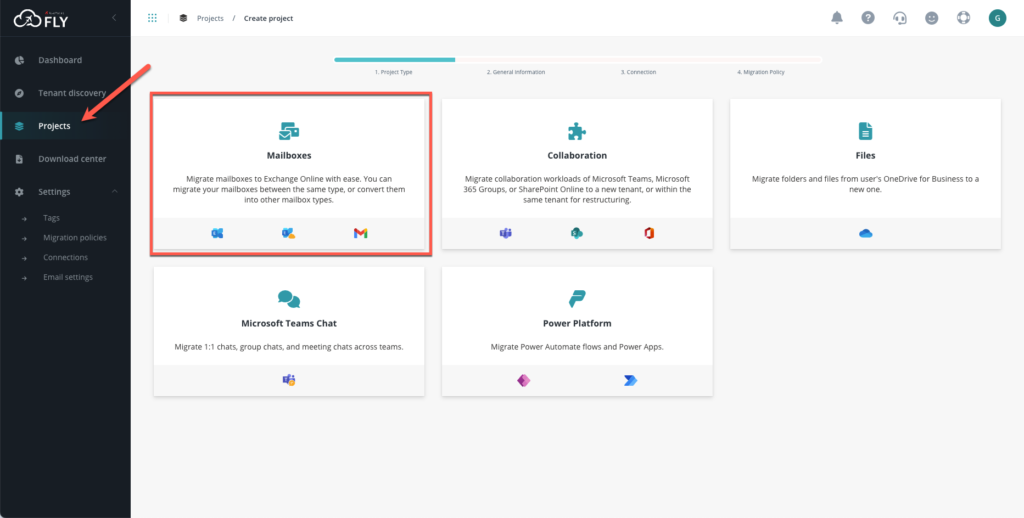
Go to Projects and select Mailboxes. On the next page provide a name
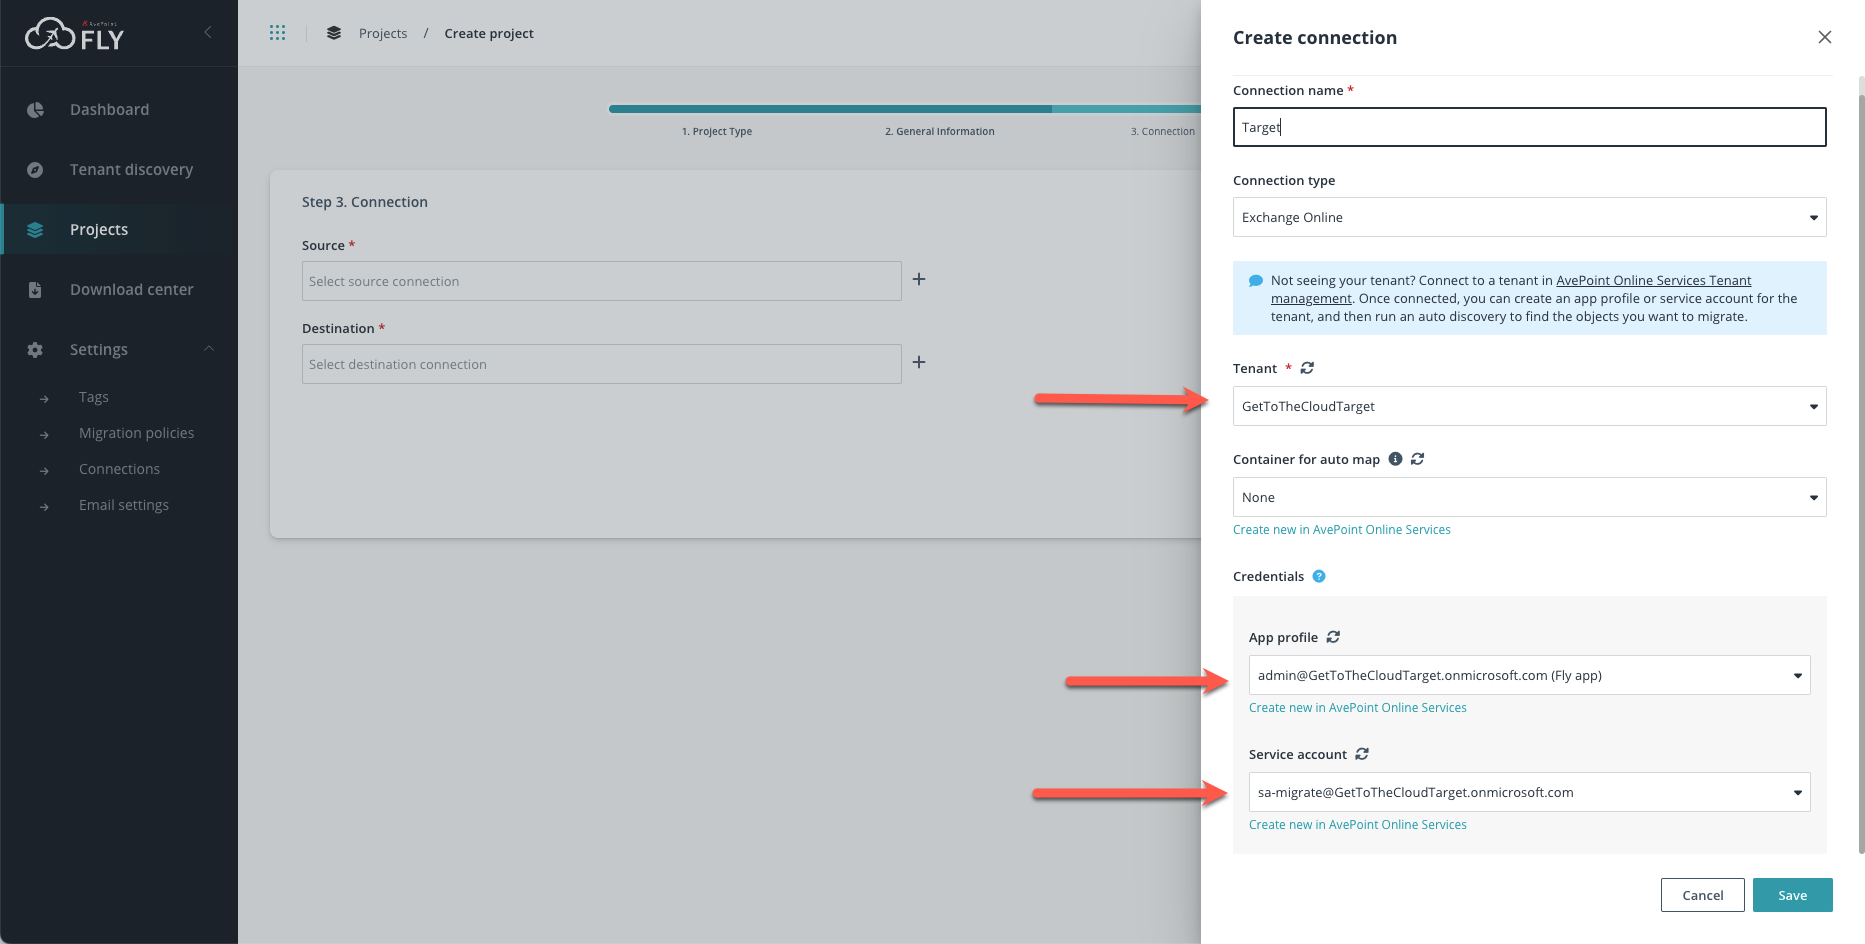
We need to create a source if not available yet. This needs to be done for ALL the tenants that are needed.
On the next page you need to provide a Policy. If not present yet, you need to create it.
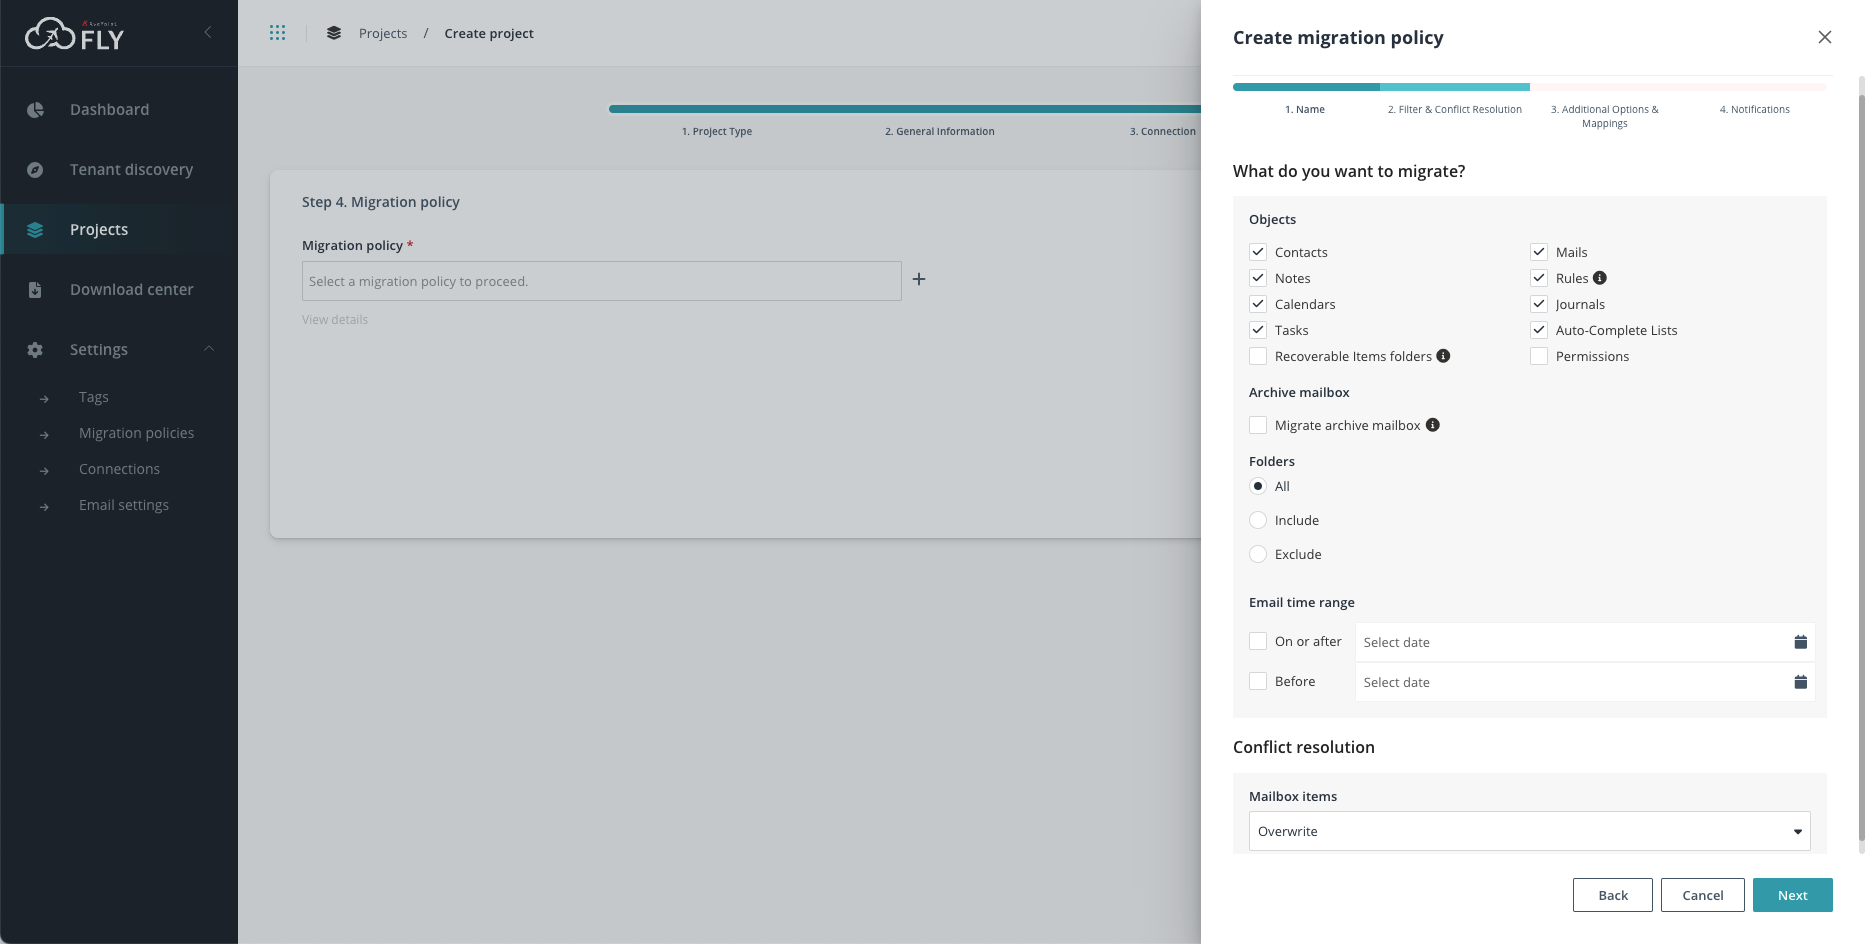
Select what you wat to migrate. I leave it all default.
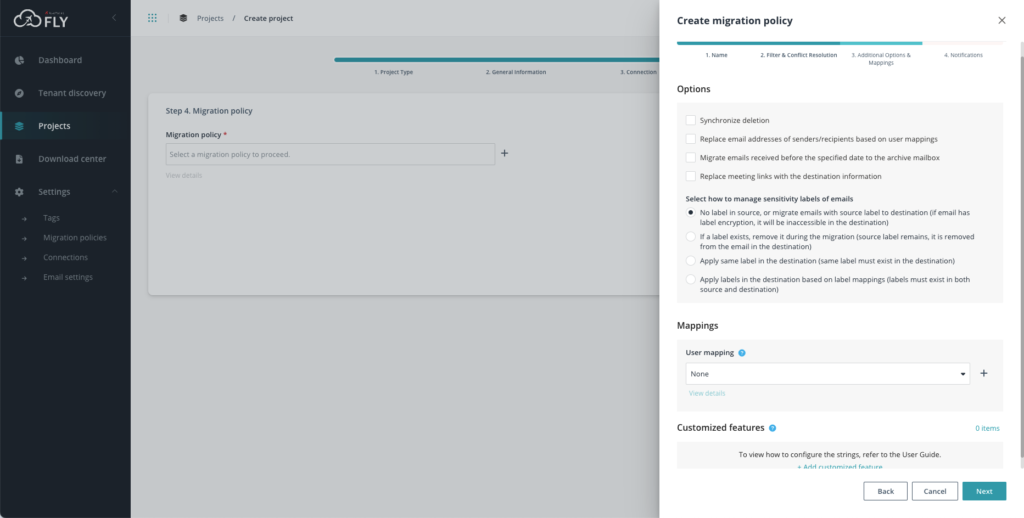
On the next page I leave also everything default.
So after policy creation and selecting it, you can finish creating the project.
User mapping
Now we need to add the users we want to migrate.
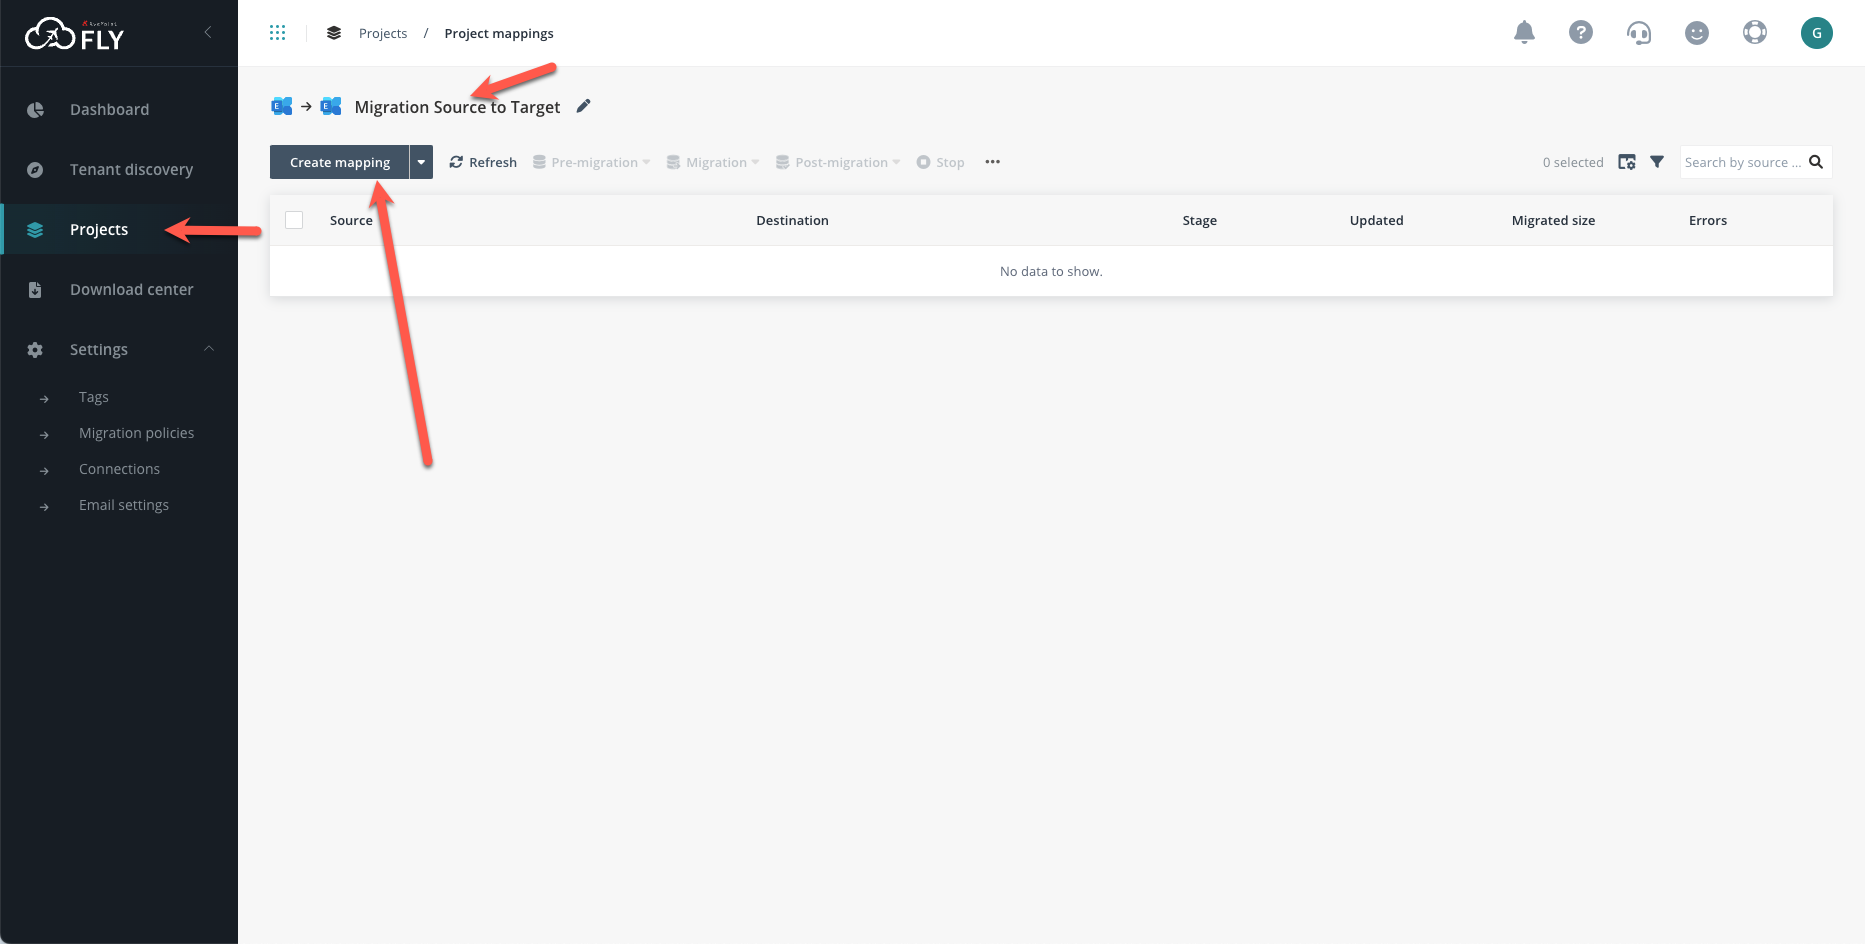
Select Create Mapping and on the next page click ADD
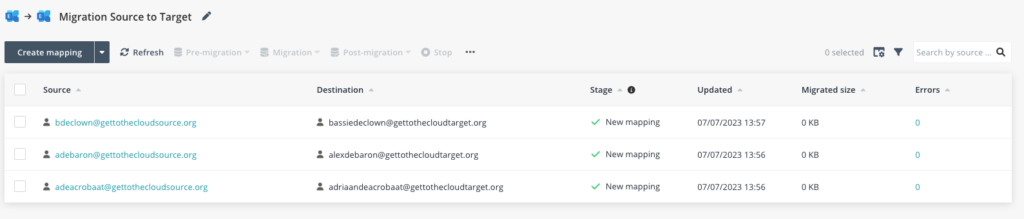
If you select them all after adding, you can click Pre-migration -> Verify mapping to check if everything is correct in place. It will start the Mapping verification and now you need to be patient.
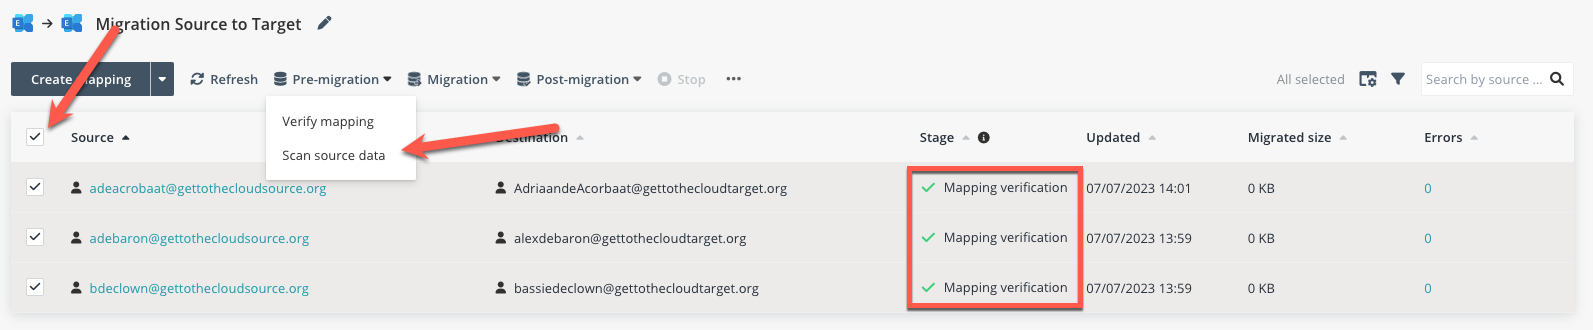
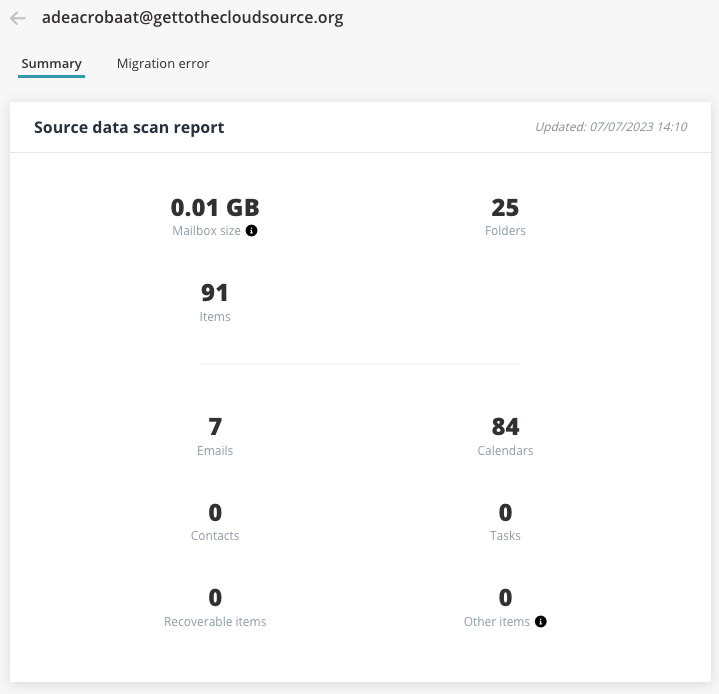
If there is an error, select the user and discover the error. If everything is correct, you can start Scan source data. Again, be patient. When it is done, you can check if you select an account, what is in it.
Back at the project page
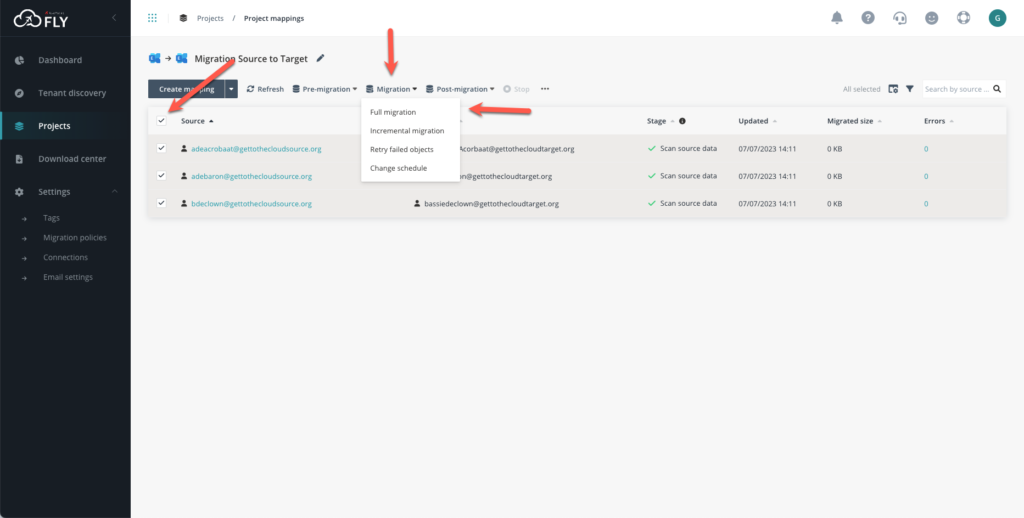
You can start the migration by clicking: Migration -> Full Migration
When everything is migrated, you need to do some Post migration tasks
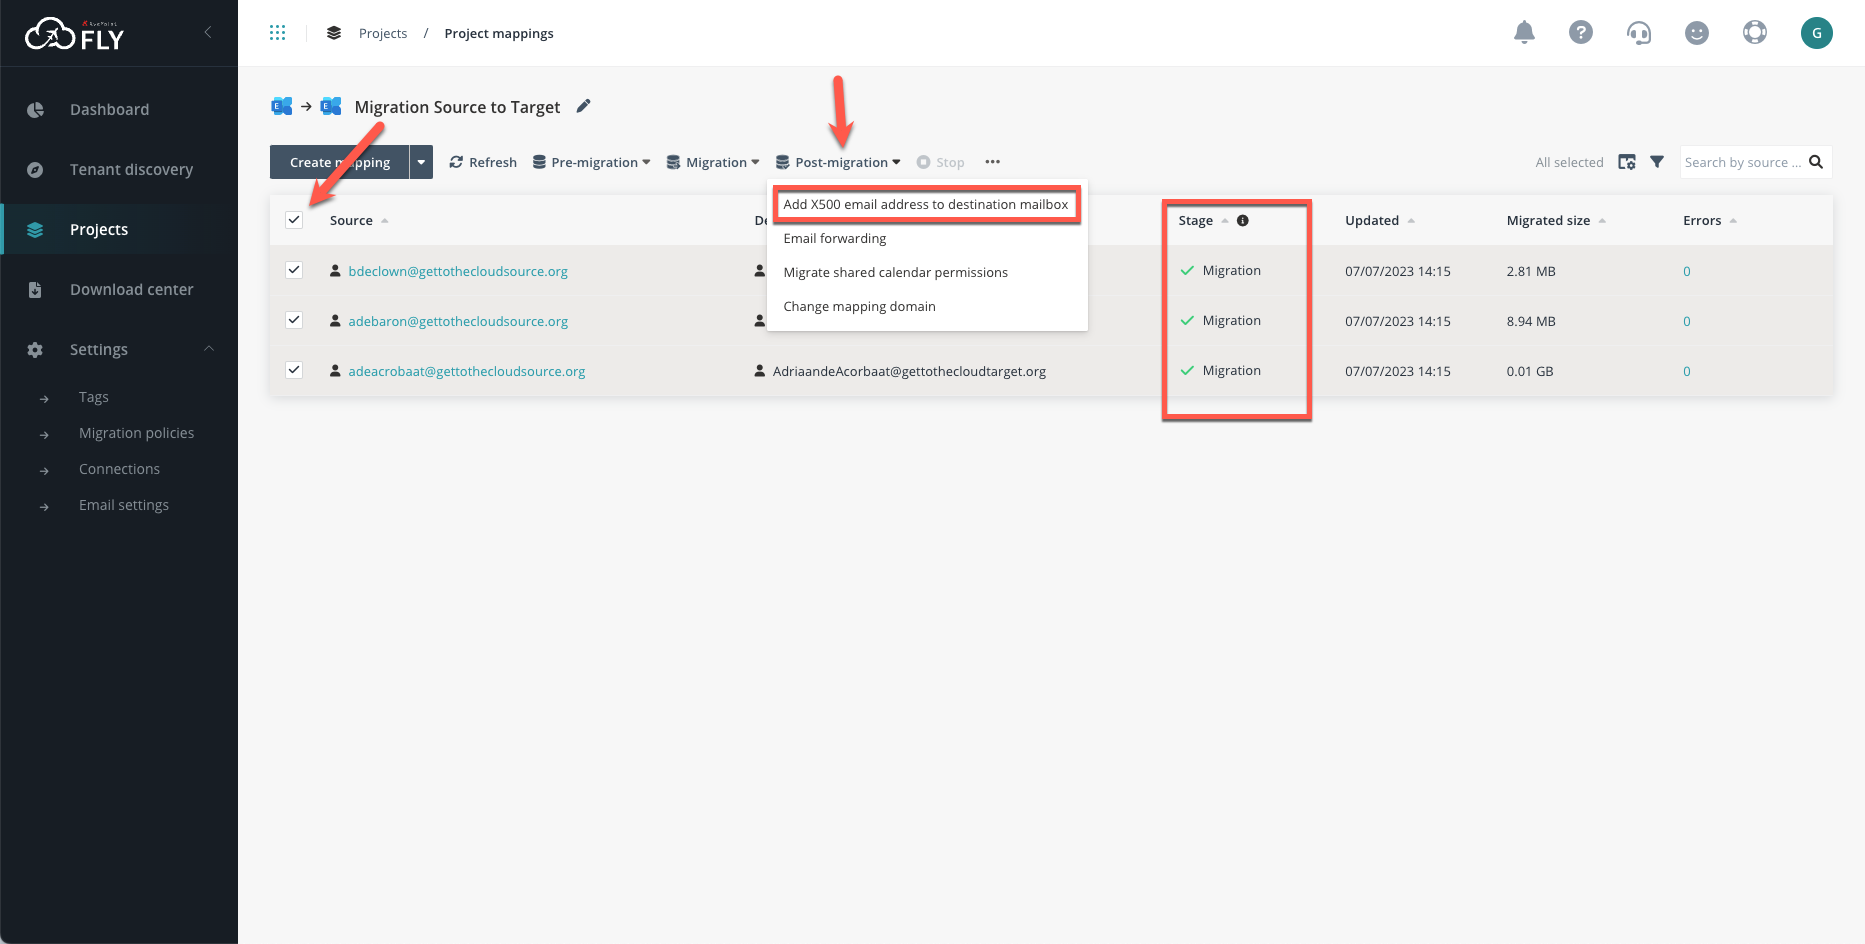
It is important to add an X500 address to the destination mailbox. If migrated users try to reply to a user that is also migrated, they will get an NDR if the X500 not is set.
Well now all the mailboxes are migrated and you are done 🙂
#happyuser is a #happymigration